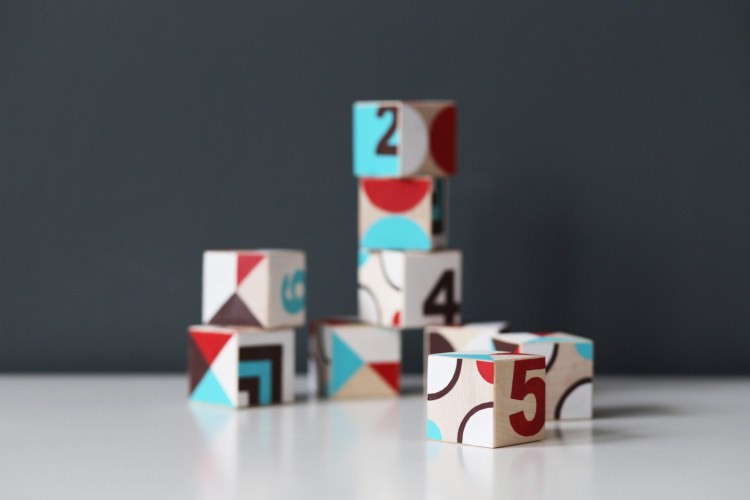
Handmade Baby Toys: Educational Blocks
Today we will create an exciting handmade baby toys – educational blocks. This set, which can be collected in different ways and come up with different jobs. All geometric patterns, that you can draw on the blocks will be assembled in a different order, creating new drawings. Letters, numbers, punctuation — fantasy is not limited.
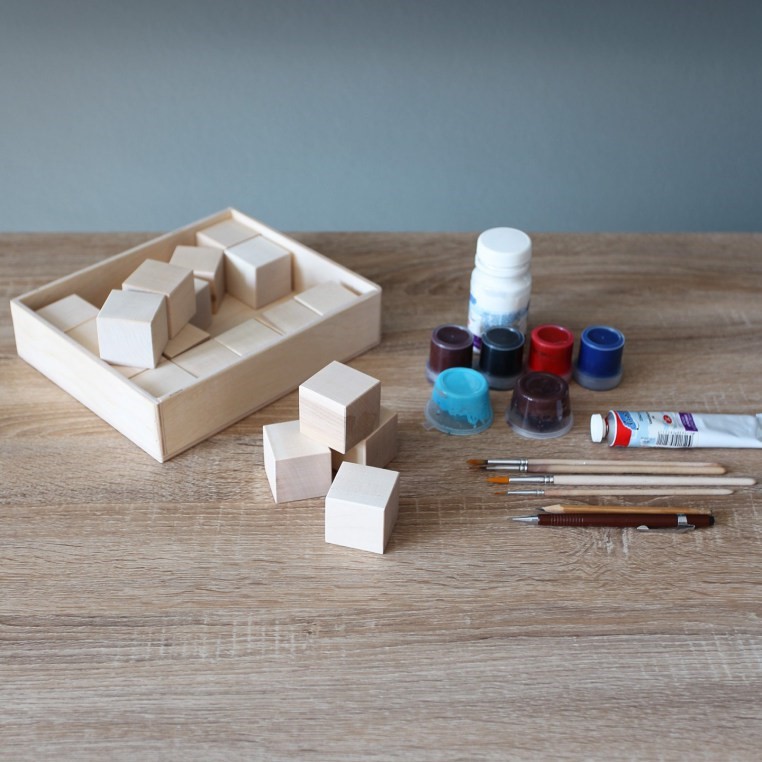
What you will need:
- Wooden blocks
- Pencil, eraser
- Acrylic paint
- Brushes of all sizes
Step 1
It is necessary to put pencil markings on the dice. For geometric shapes, you can use a ruler or stencils. It is better to make a sketch on paper, to avoid confusion in the order of the parties. Each of the six sides can be made with different patterns, and all parties can be dyed uniformly. You need to draw lines subtle that they are easily hided or erased if necessary.
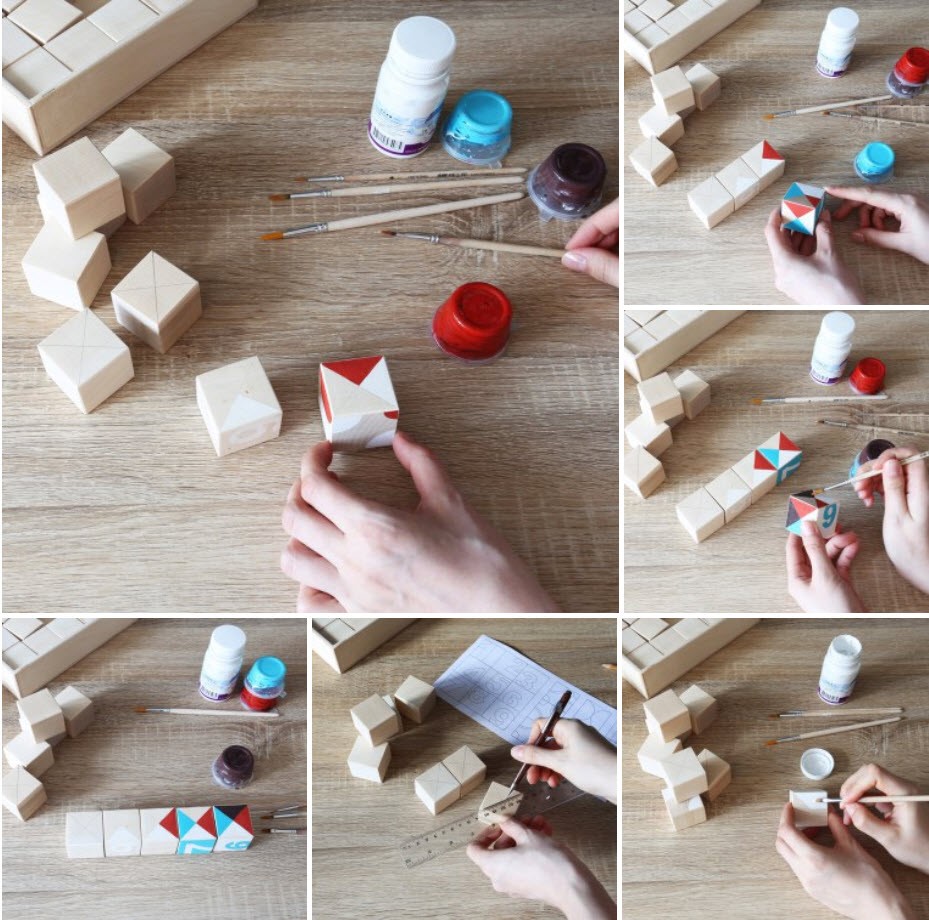
Step 2
Starting with the lightest color alternately apply the drawings. For corners and fine lines is better to use the small paintbrush. To fill large areas is better to use flat brush. If you make a drawing of the large triangles, you can use masking tape for the borders, but the manual drawing will look much neater.
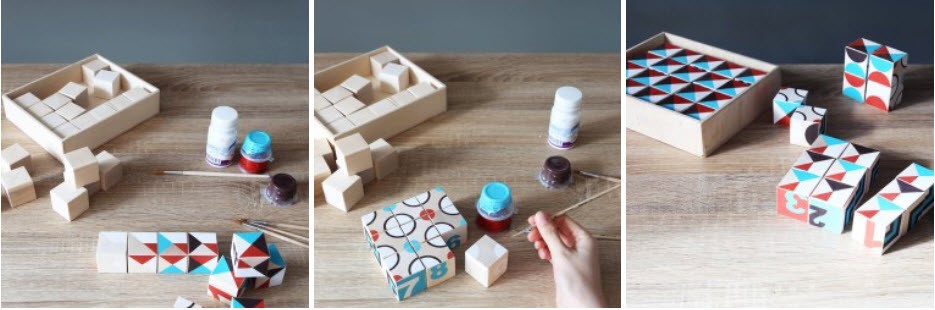
Step 3
If desired, cubes pattern can be coated with water-based lacquer. But the acrylic paint itself is very persistent, not afraid of water, so this is not required.
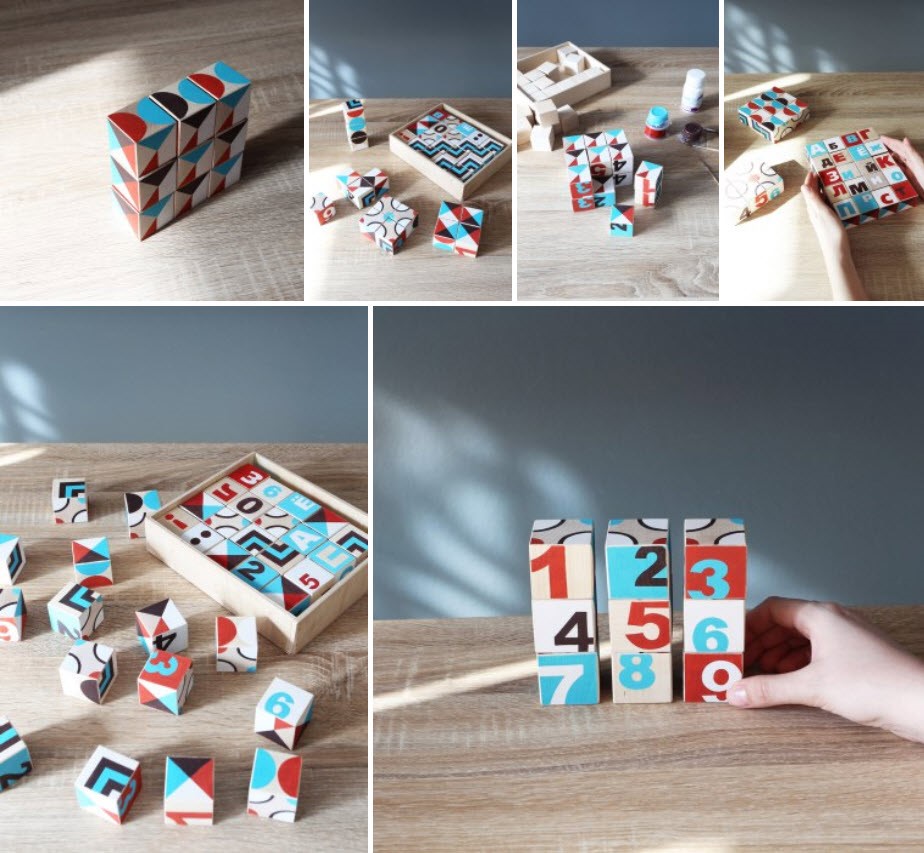
You can make one of the ends of this puzzle is a large image is divided into 9 parts.
Good for you! Handmade baby toy is ready!