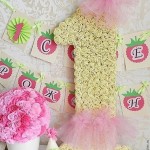
Rapid manufacturing of simple (but cute) stamp for decoration of packaging bags.
Sometimes it is absolutely necessary to make a large amount of packing bags, for example, before the show, or the children’s birthday – to hand out prizes and gifts guests. In short, there are reasons. You can buy plastic packages (or made of wrapping paper), but handmade packages looks and perceived quite differently. So toady we’ll find out how to decorate the package almost rapidly and reproduce it in large numbers.
Homemade stamp can be used for many craft projects. For example, you can decorate cloth – do print on the shirt, skirt or blouse.

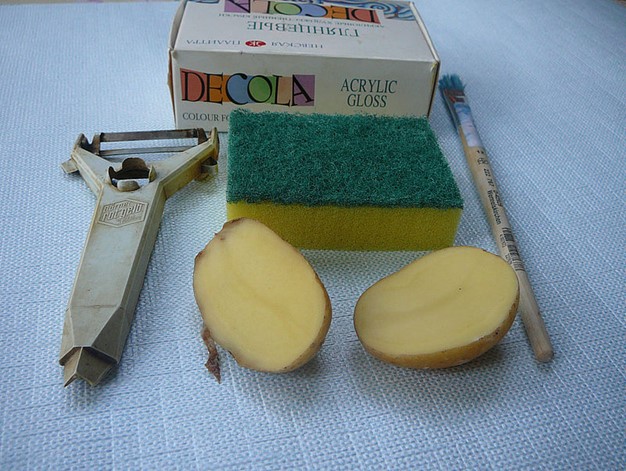
We need:
- knife for cleaning vegetables
- sponge
- potato
- Acrylic paint for paper, fabric and so on. (in our case – ‘Decola’)
- brush
- palette or dish to mix colors.
The process is simple:
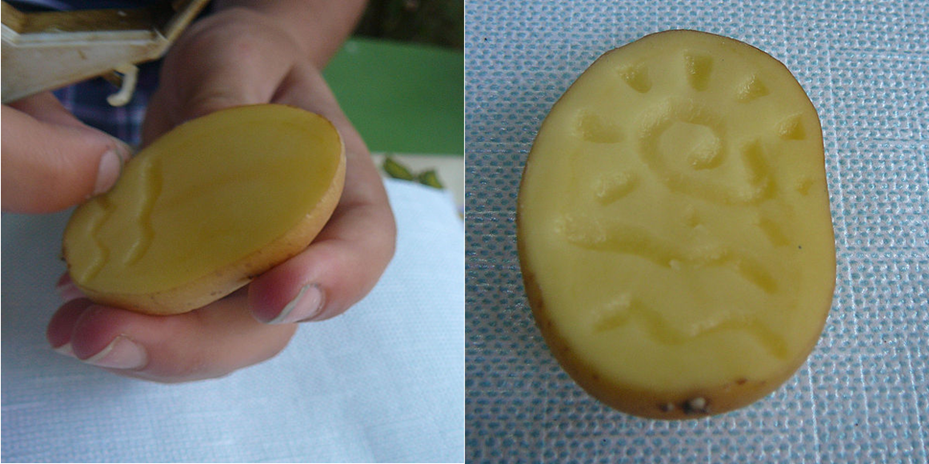
- Thoroughly cleanse potato and give it to dry.
- Cut in half.
- Use a vegetable knife cut on the sides of potatoes ‘taped’ – about 1/5-1/4 in (0.5-1 cm) from the ‘working’ flat surface.

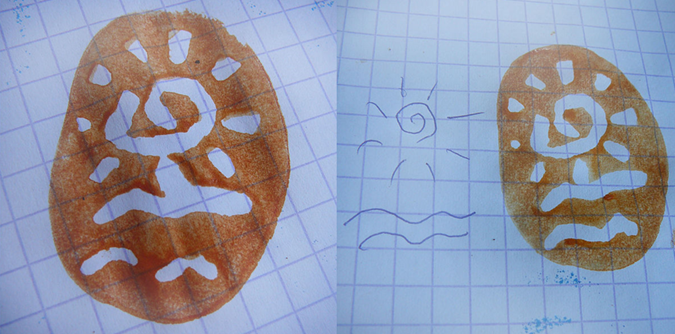
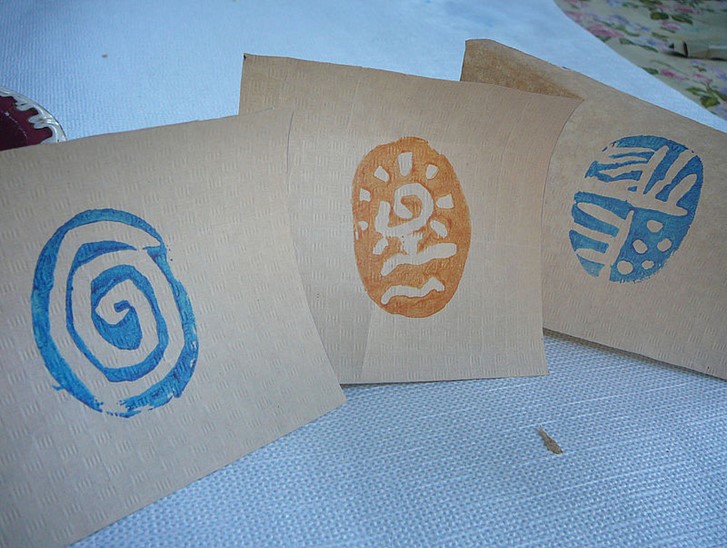
4. Creating a simple figure on paper. Best look spirals, geometric patterns and simple “baby pictures”. To make it easier for kids to participate in the creative process, first draw a potato to make a stamp in the output path.
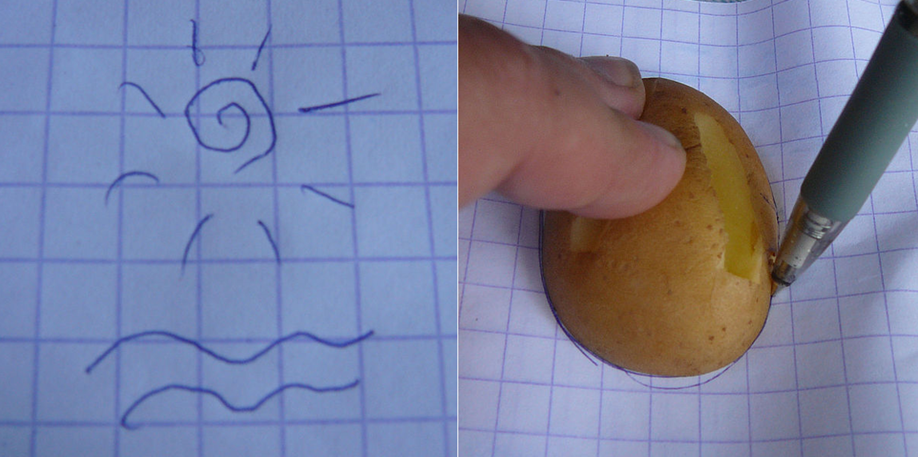
5. Cut out the pattern with a vegetable knife
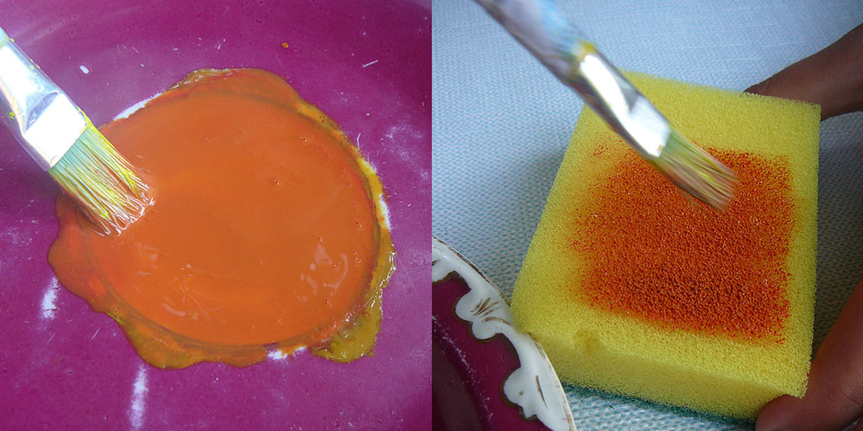
6. Mix the paint or solid color applied with a brush on the surface of the sponge.
7. Apply stamp to the sponge, and then do a test print on unnecessary paper – if something is wrong, you can modify it or make a new stamp.
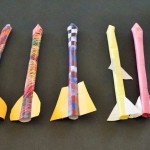
8. Decorate what you need, densely pressing a stamp to paper.
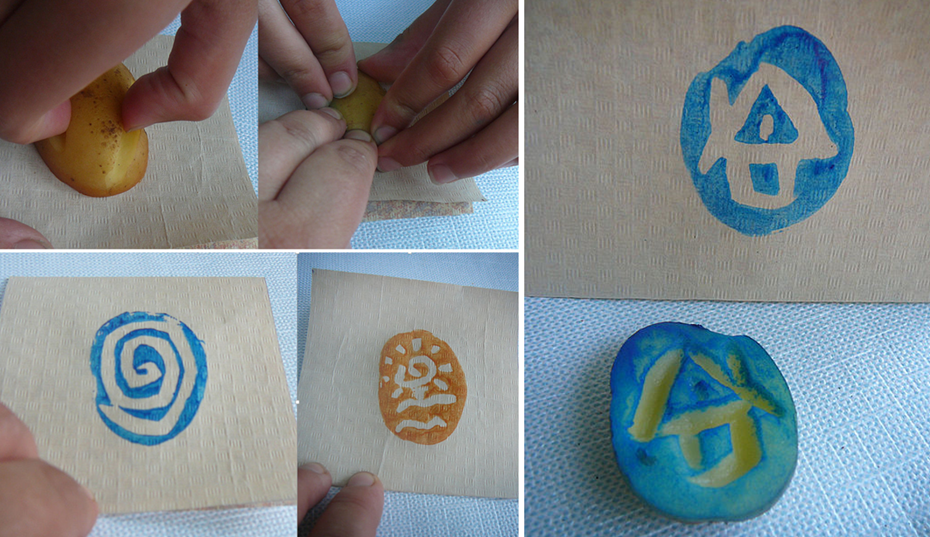
 The manufacture of homemade stamps with children is quite easy and fun. This is a great way to entertain kids at a birthday party: they can by using homemade stamps make a birthday greeting card, decorate bags and packages, you can do magic story or even a whole book of fairy tales!