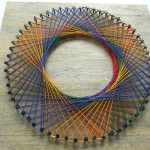
How to DIY Art-book on rings from scrap materials
Of course, any notepad or notebook can be used as a diary, but creativity can show from the beginning, making the art-book with their own hands, the more so because it is a snap.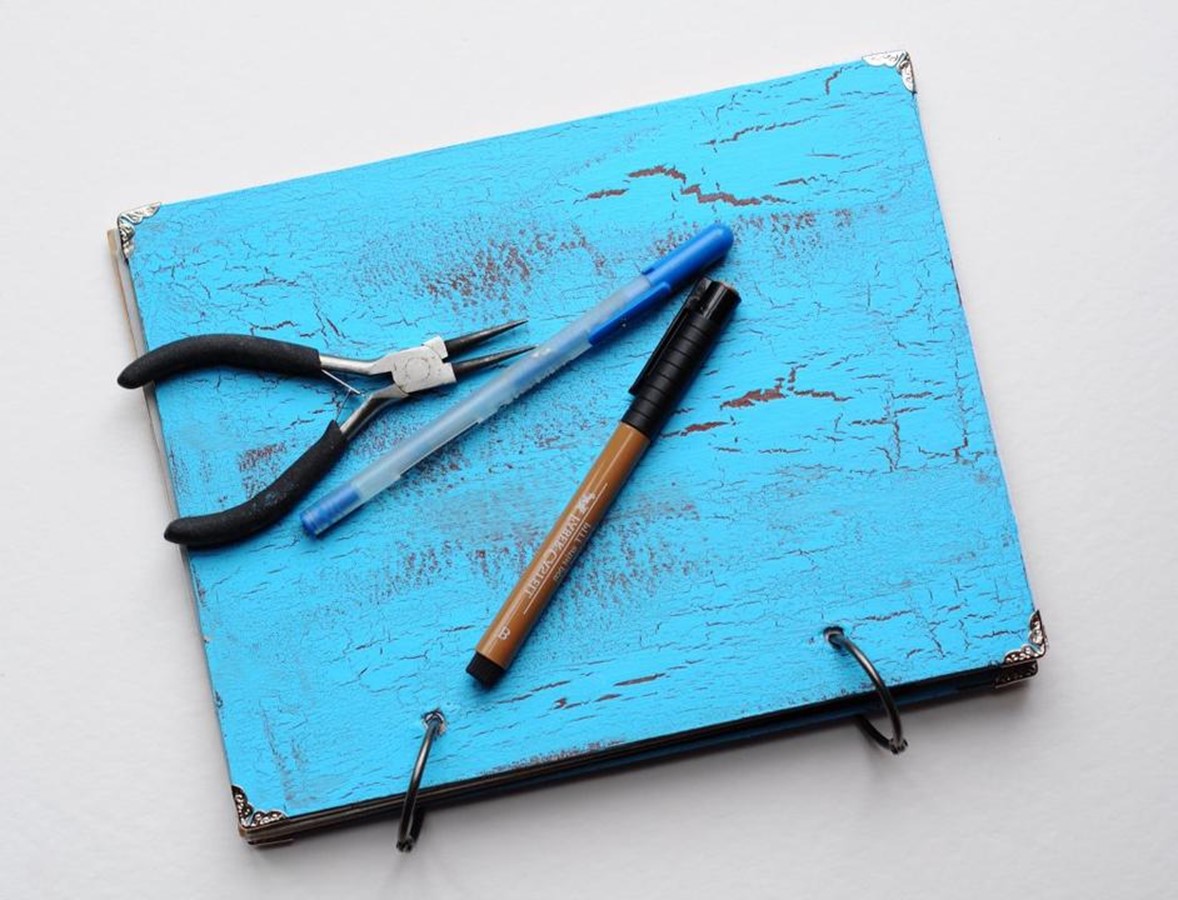
Notebook on the rings under the power to make even those who had never engaged in such things. In addition, in this embodiment, there are many additional advantages: you can not only make a unique object reflecting your creative individuality, but also will be able to combine different types of paper that will surely enjoy the artists, as well as find application stray sketches, notes, envelopes and the like things. Size, format, design – everything will depend entirely on you!
For the manufacture of a notebook on the rings you will need:
- metal split rings (can be found in stores with goods for scrapbooking), 2 pieces
- metal corners, 4 pieces
- thick cardboard
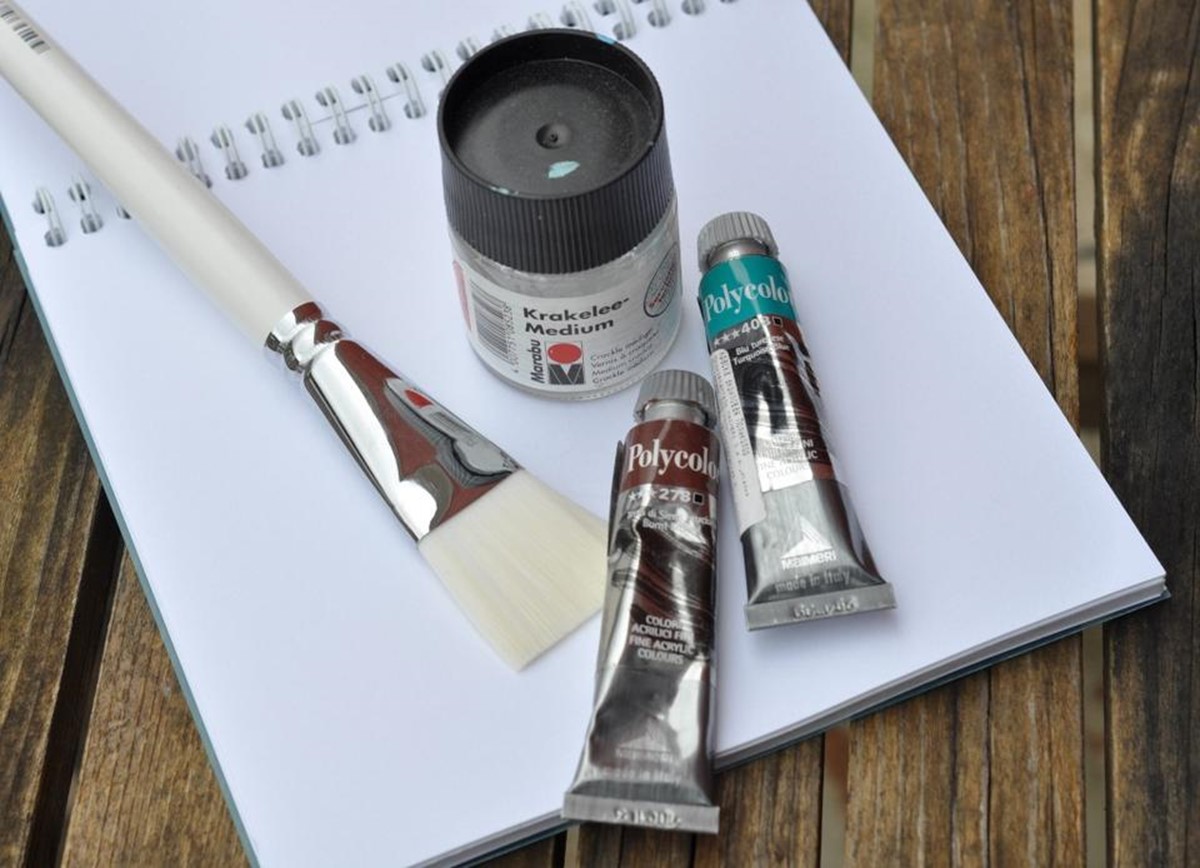
- Acrylic paint in two colors
- nail education craquelure (optional)
- Round, awl, scissors, stationery knife
- flat synthetic brush, pencil, ruler
- paper of any color and quality for the pages
Paper pages
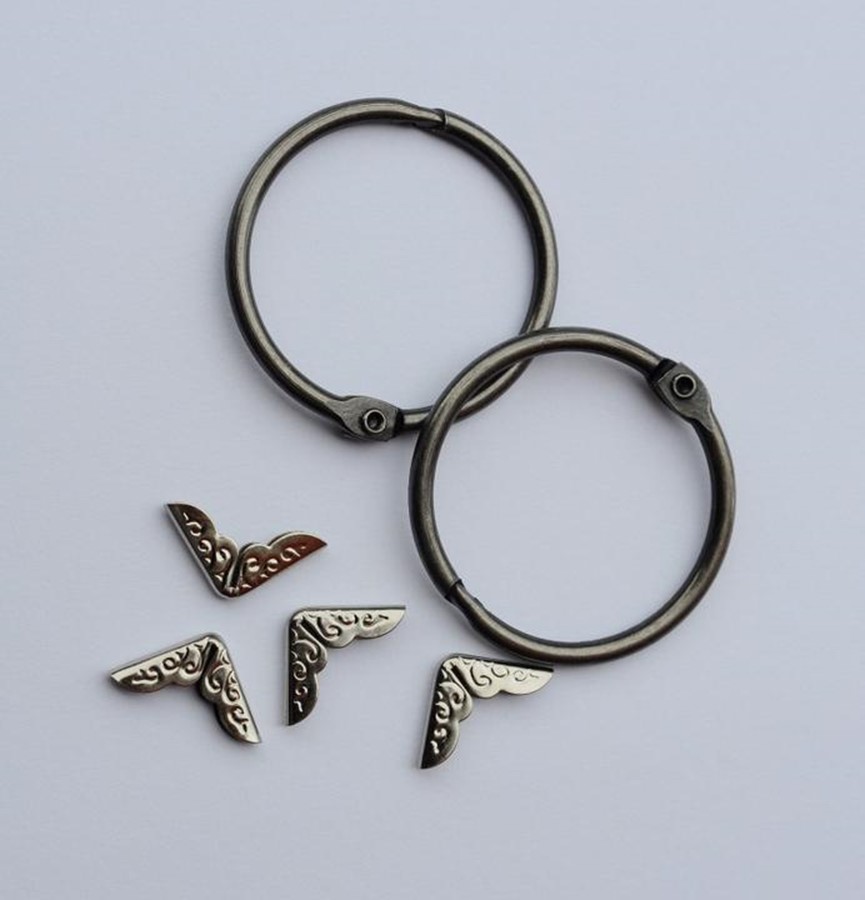
Split rings and corners
The process of making a notebook on the rings
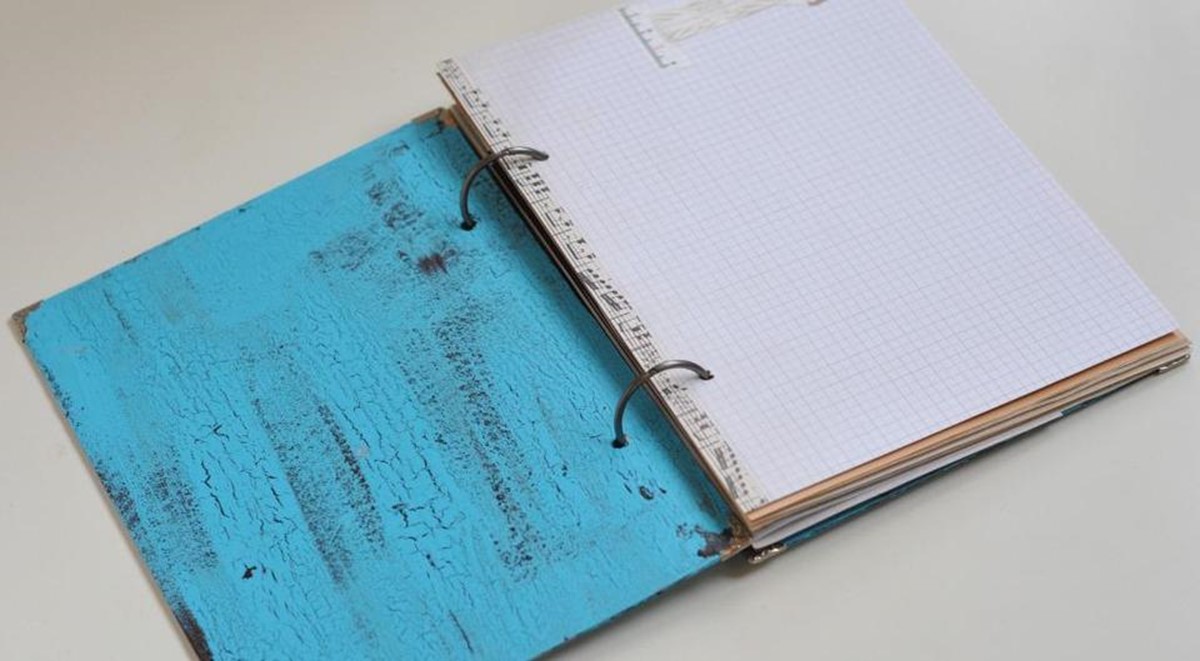
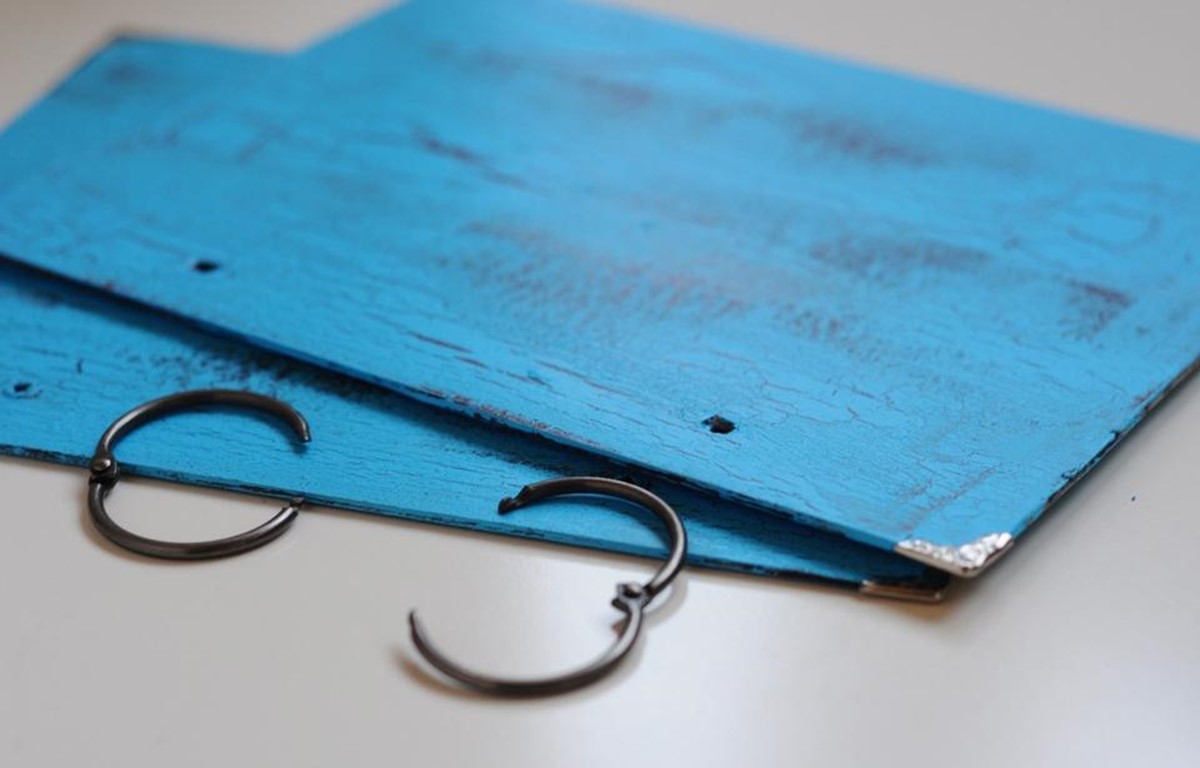
To start to define the format. I made the cover with the size 18,5×24 cm (7 ¼ x 9 ½ in), respectively, pages can be done smaller. Thick cardboard, covered with several layers of acrylic paint, acquires density plywood, so notebook becomes quite reliable. Cut a cardboard desirable to protect the substrate table with a sharp knife stationery. Use thick awl to make holes on the two parts of cover the holes, holes should be symmetrical relative to each other.
Cardboard can be covered with a layer of acrylic paint to make on it any inscription or applications. I propose a simple and fast way – make art-book aged look through the cracks, which will appear through the use of special varnish.
First, carefully paint the details of the cover from all sides, not forgetting the end portion of cardboard.
Tip: even if you decide to do a plain cover, better cover it with a double layer of acrylic paint.

The first coat of paint and varnish from the surface after applying a second layer of acrylic
After the first coat of paint has dried, cover it with varnish effect craquelure, according to the instructions on the package of varnish. You can use hairdryer to make it dry faster. After the varnish has dried, apply the second coat of paint of a different color, remembering that direction of the cracks depend on the direction of movement of the brush.
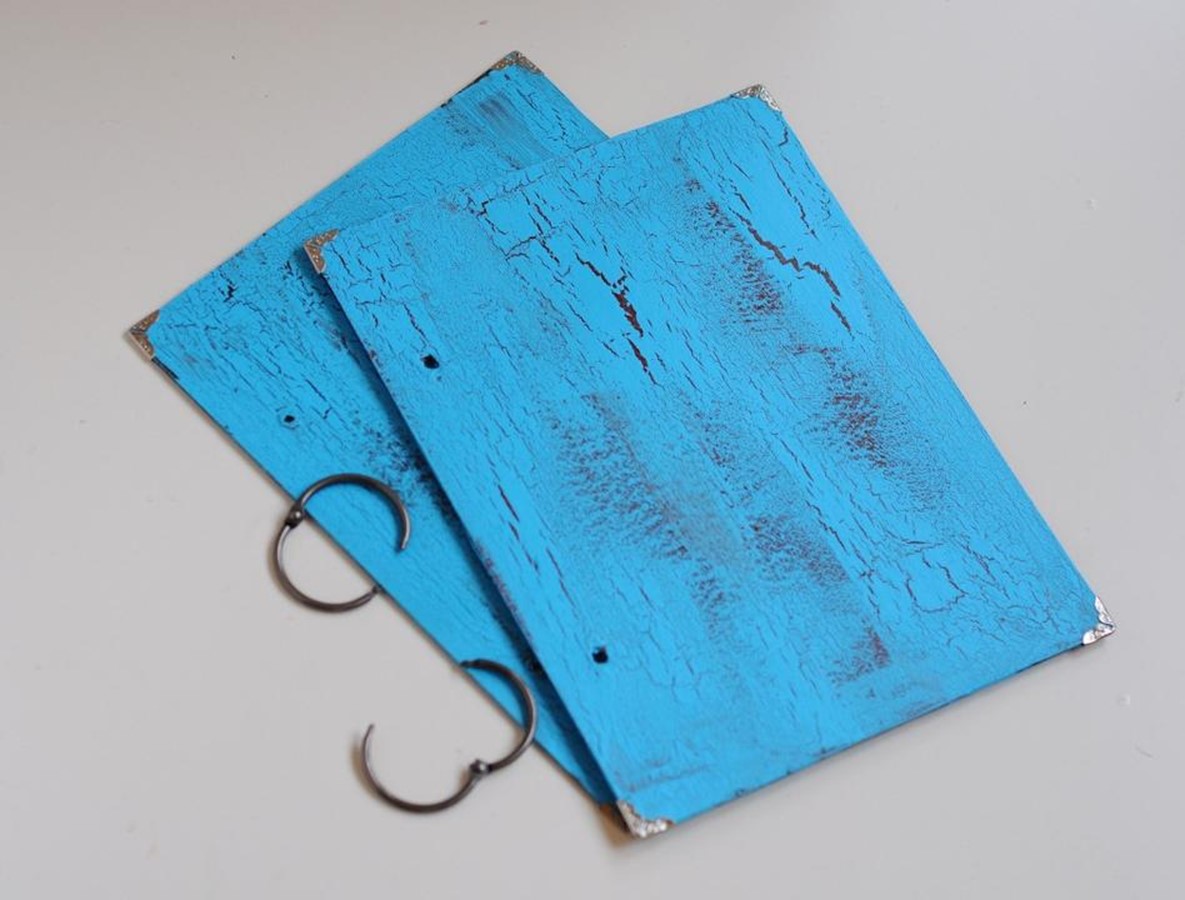
After the paint is completely dry, use your fingers or pliers to maximum tightly fasten metal corners on the edges of the cover of a notebook. They not only emphasize the selected vintage look, but also help to permanently preserve neat art-book.
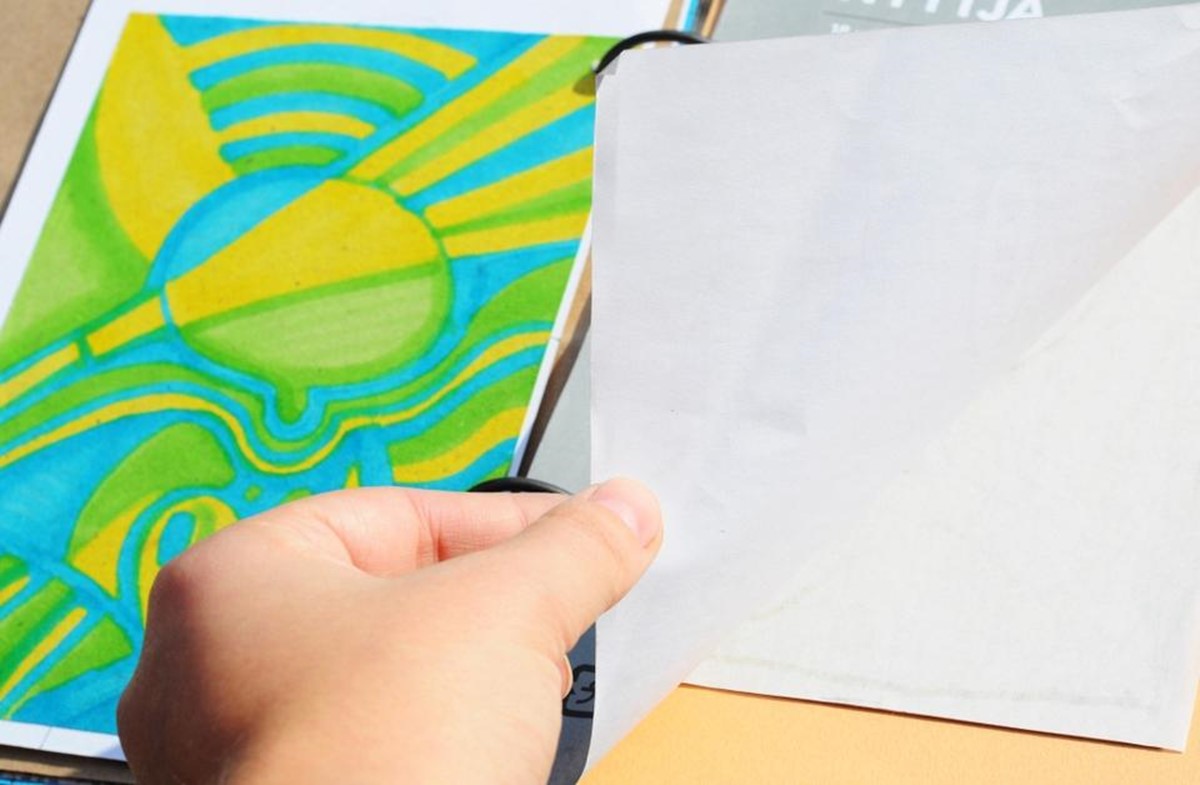
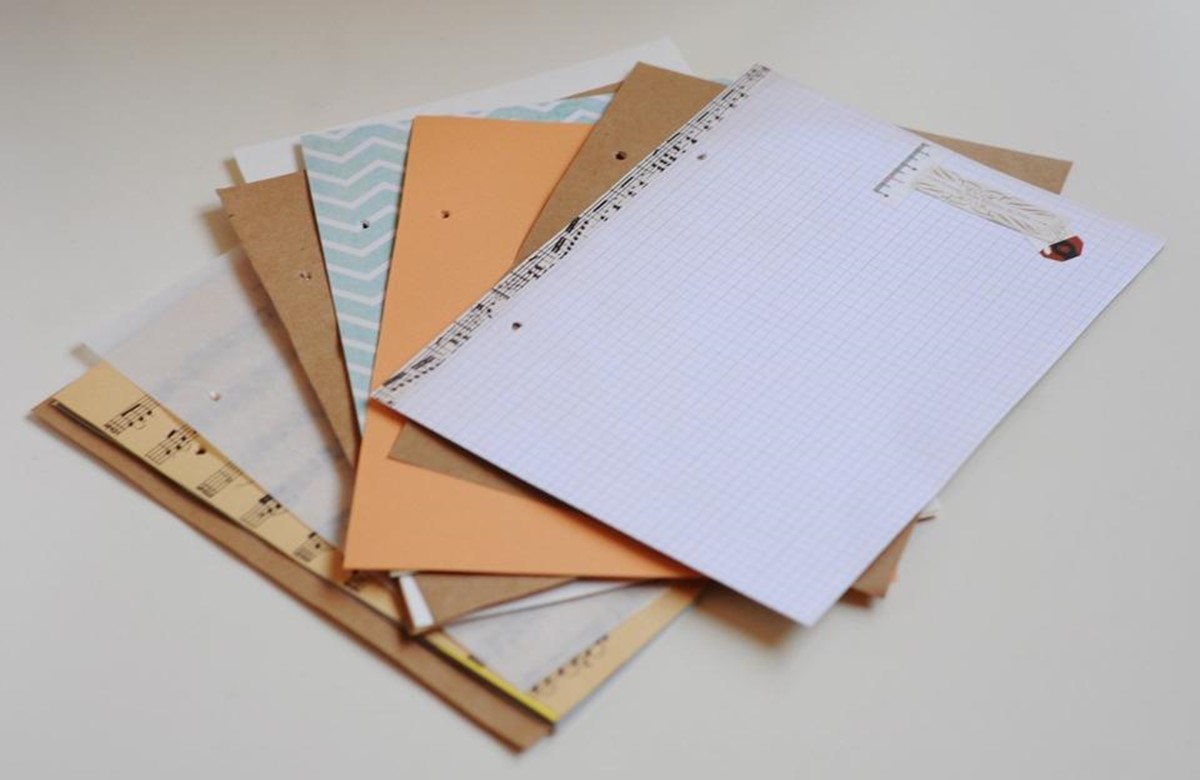
Actually, that’s the technical part of the work is finished. It remains only to cut any number of pages, and start filling notepad with notes and drawings.
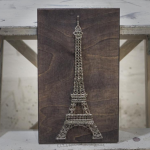
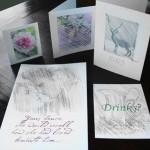
By the choice of material for the pages I propose to approach the most creative, in the case goes all: colored paper and old book pages for future collages, watercolor paper for sketches, small sheets of notepads, and even the old ads. The more creative themselves will be a page, the more you will feel unfettered in their coverage. For example, I used tracing paper, black, white and colored paper of different size and weight, the old notes, patterned paper for scrapbooking and even old pictures that did not rise to throw hand.
On the last page, you can stick an ordinary envelope, which then will be convenient to put small pieces of paper and stickers.