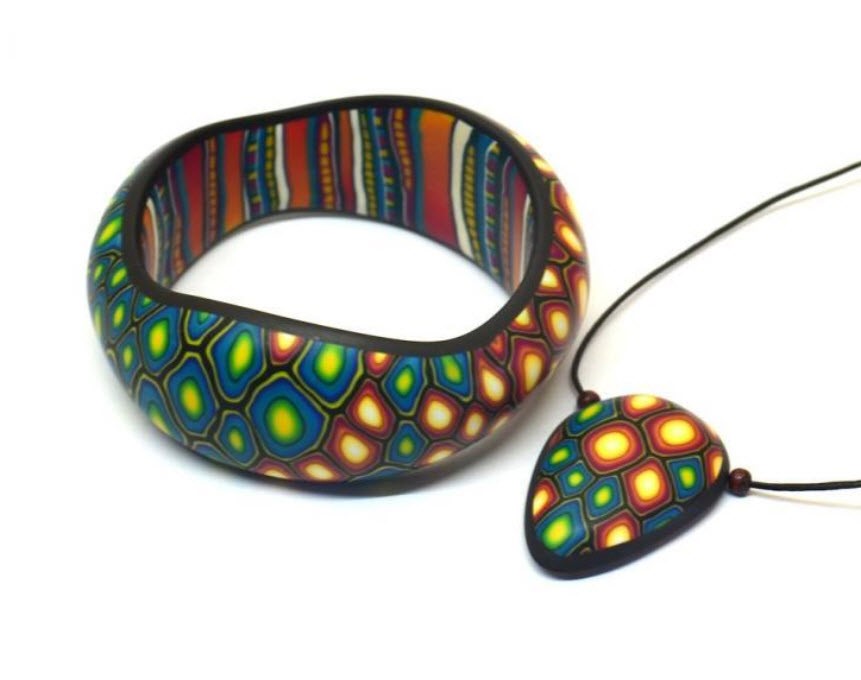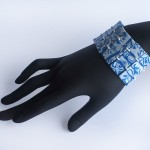
How to make a beautiful multicolored bracelet
I propose today to do the hard bracelet of polymer clay without a wooden or metal base.
We need:
- Polymer clay several colors;
- Unwanted residues of polymer clay;
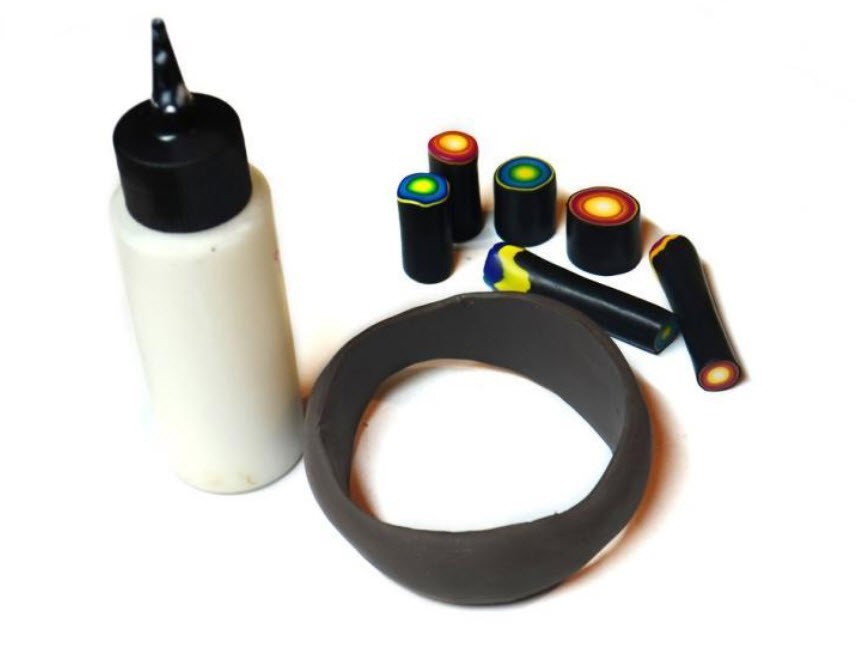
- Liquid gel (better Sculpey);
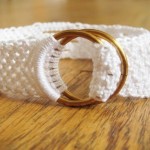
- The basis for the formation of the bracelet: an empty tin can, a glass jar or bottle, etc.;
- Pasta machine;
- Blade;
- Extruder;
- Grit sandpaper varying from 600 to 2000;
Deliberately do not specify the exact size and thickness of the layers, as there are no clear recipes. Do as prompt fantasy 🙂
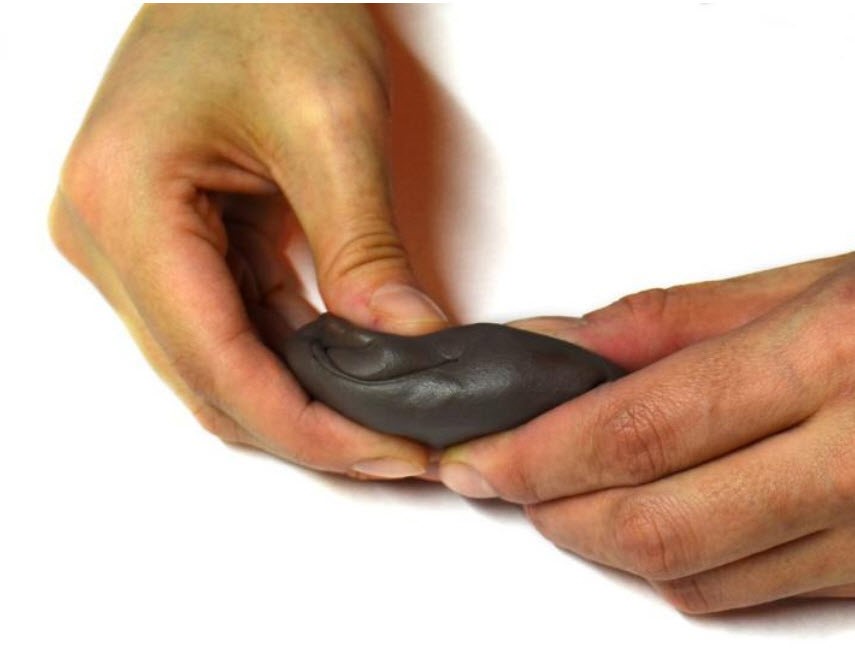
1. kneads unwanted residues until smooth.
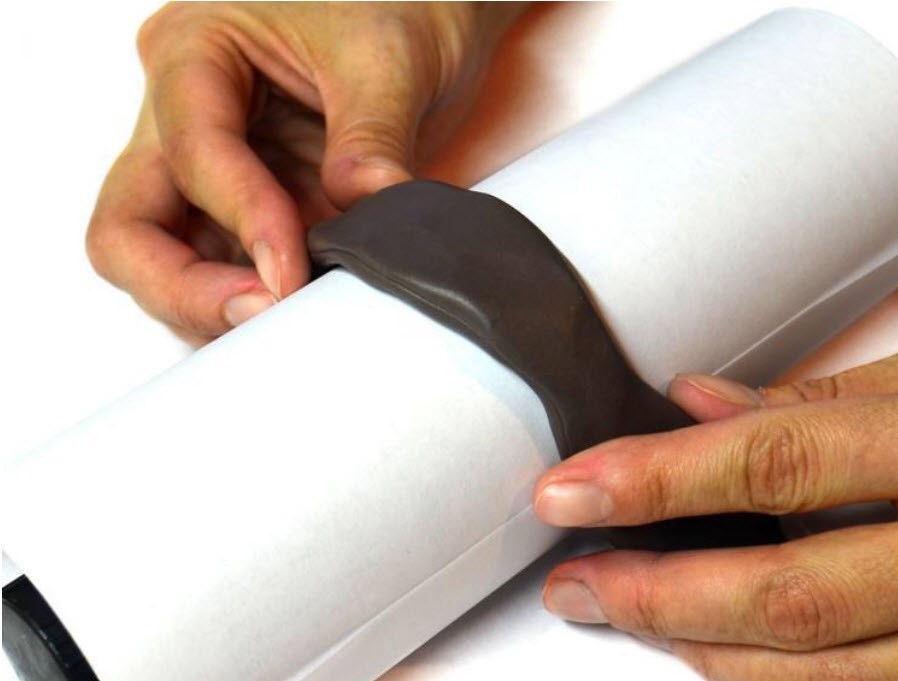
2. Use your fingers to form a long strip of different width, thickness of about 0.2 in (5 mm). Wrap the strip around the can (I used this bottle from the solvent, wrapped in paper). Connecting the ends and carefully smooth.
3. Use your fingers to form the basis for a bracelet, press down the edges, making them thinner. With starch smoothed form.

4. Bake.

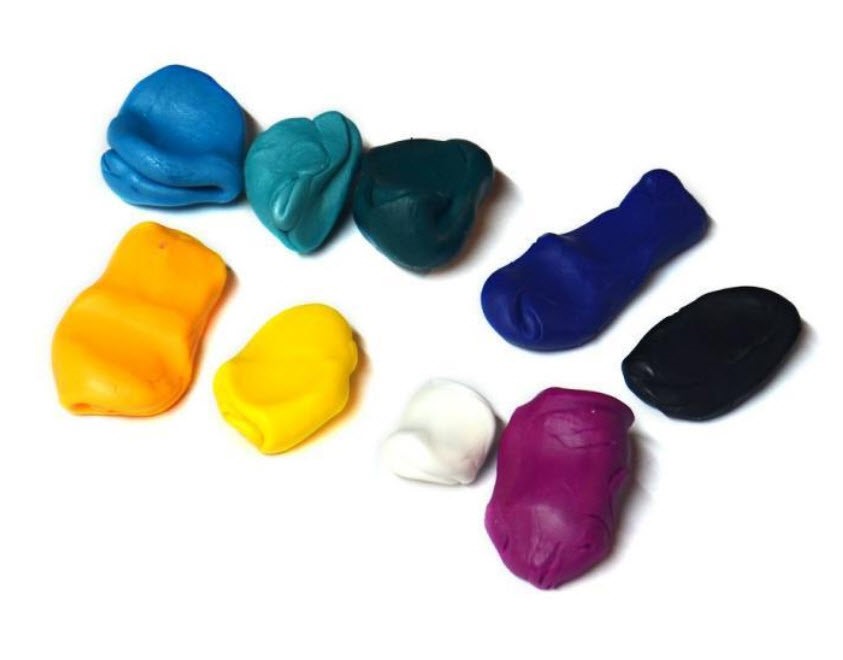
5. Kneads all the colors of polymer clay. Mix the desired shades. In this case, use warm colors: yellow, yellow-orange, pink dark. Cold: blue, turquoise, dark blue, dark green. Plus a white and dark brown (instead of black).
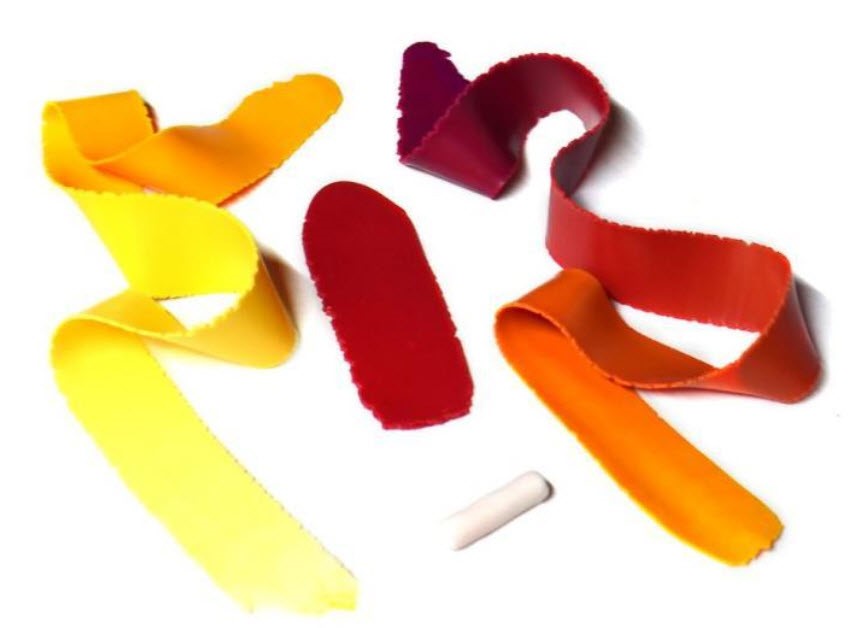
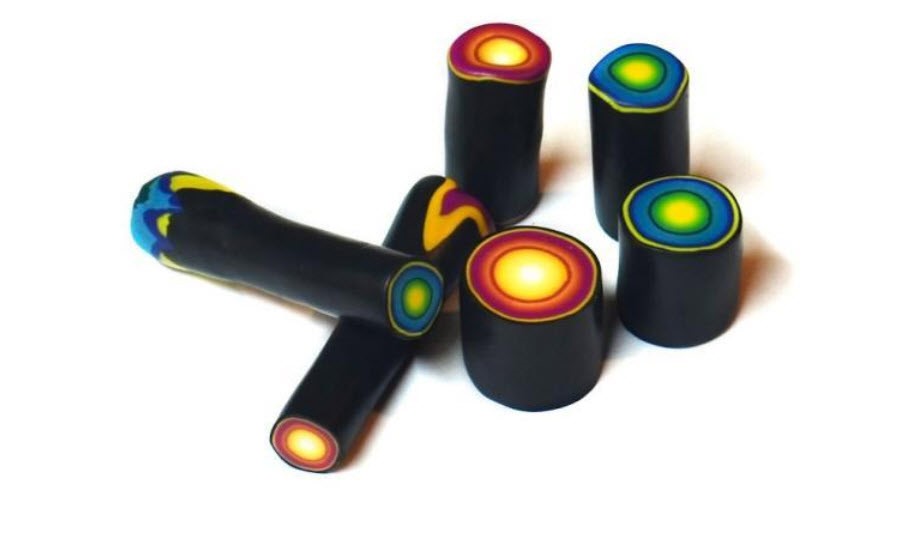
6. Make two transitions of color from white to yellow and from dark yellow to dark pink. Forming small white sausage. Mix yellow and pink to give a red-orange color. Roll out the paste on the machine.
7. White barrel wrap a strip of transition in color from white to yellow.

8. wrapping it with a layer of red-orange. Then strip the transition from yellow to pink. And a layer of pink polymer clay.
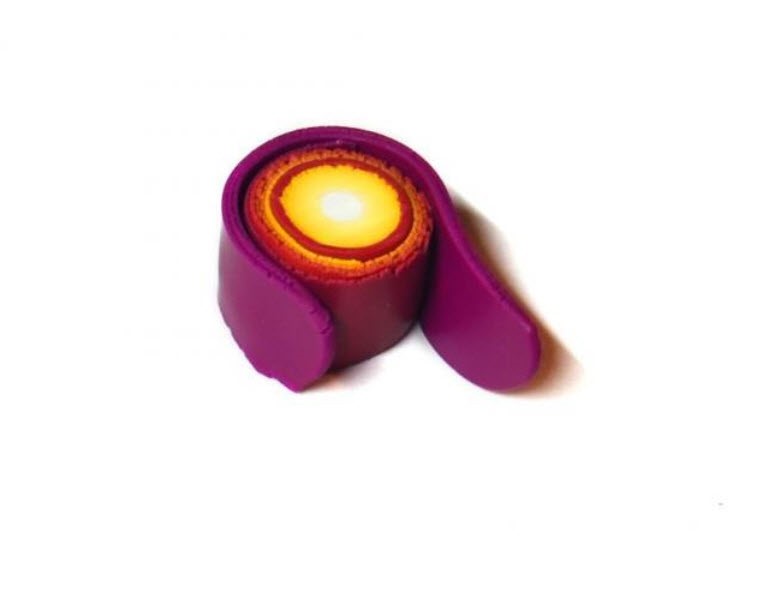
9. Finally, a very thin layer of yellow and dark brown.
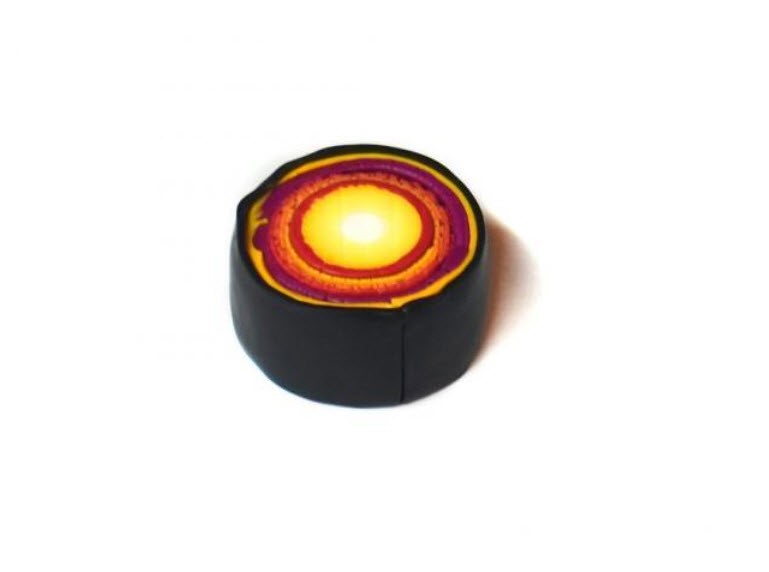
10. Squeezed sausage. Make several sizes. By the same token form a sausage of cool colors.
11. The basis of the grease gel. Recommended that you use Sculpey, since it is more dense and sticky than Fimo.
12. Sausages flattened fingers on both sides, forming a diamond from them. Sharp blade cut into thick layers. And deposited together onto the substrate, alternating large and small slices.
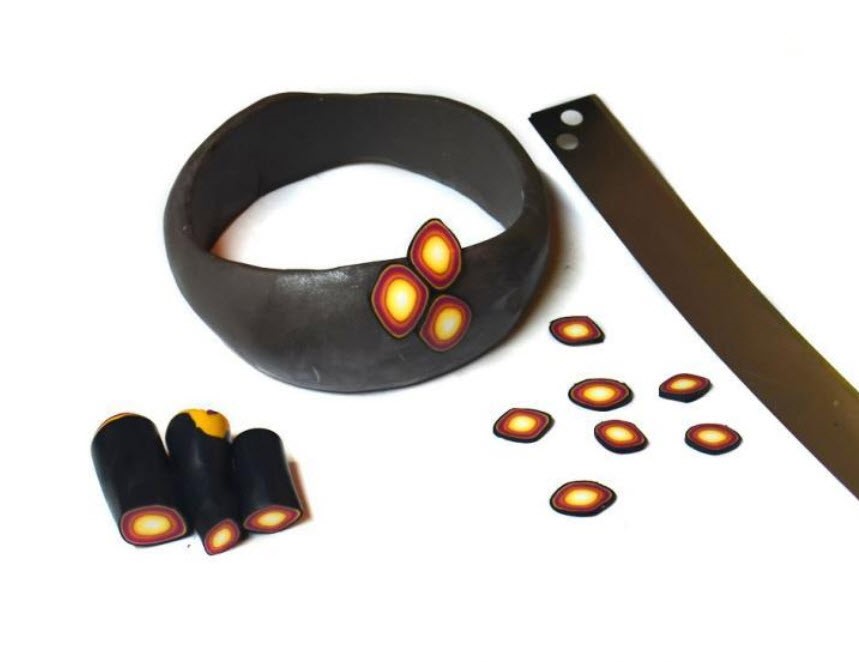
13. Similarly, we proceed with blue sausages. Positioning can be whatever you like: mixed with red or with a clear boundary. In this case, one half of the bracelet – blue, the other – red, with the transition between them. Laying out the whole basis of slices you need your fingers thoroughly trample all the pieces that between them there was no gaps.
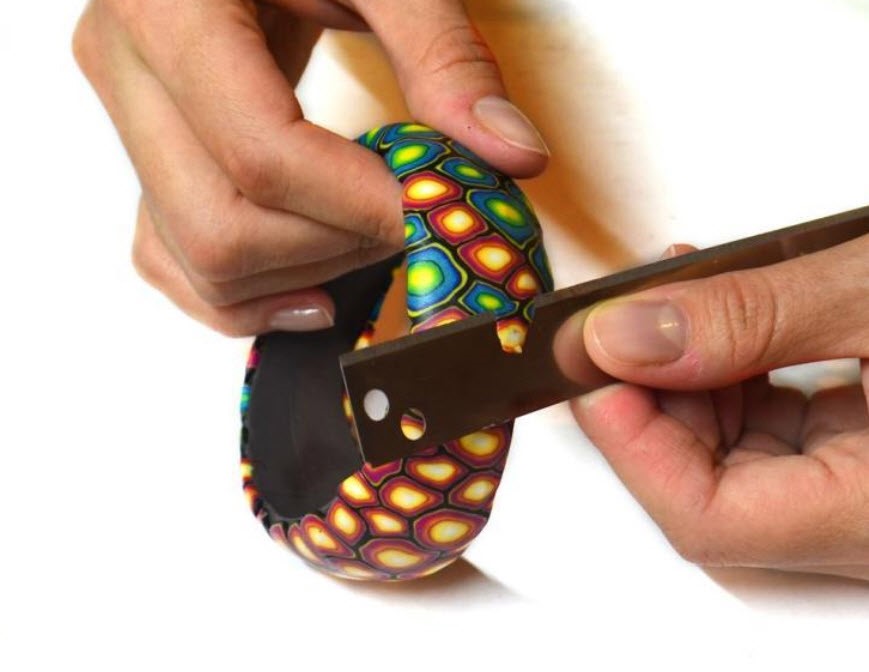
14. Blade slices superfluous, forming a flat surface bracelet. Bake for about 20 minutes.
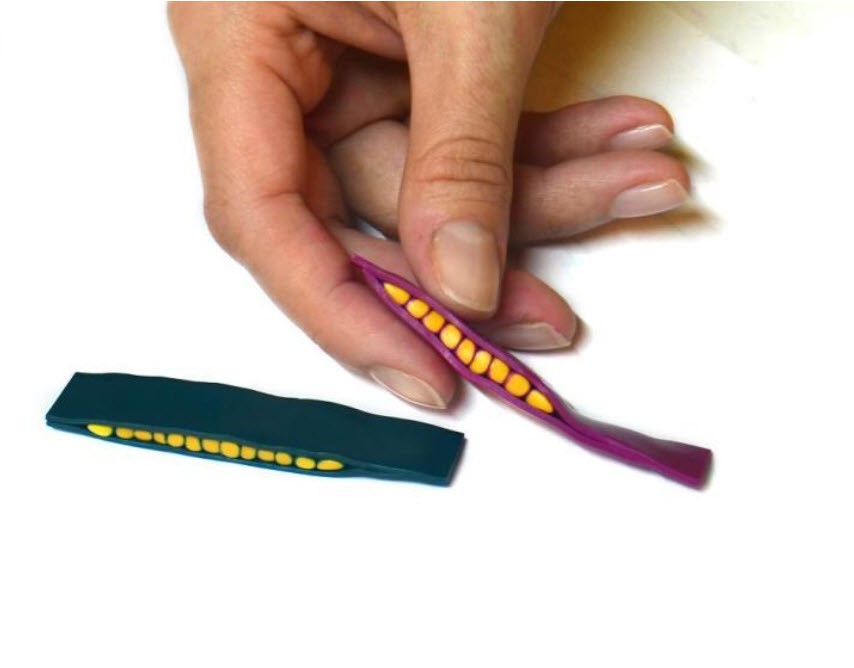
15. While baked bracelet, prepare clay for the inner side. Sausage from yellow clay wrap a thin layer of dark green.
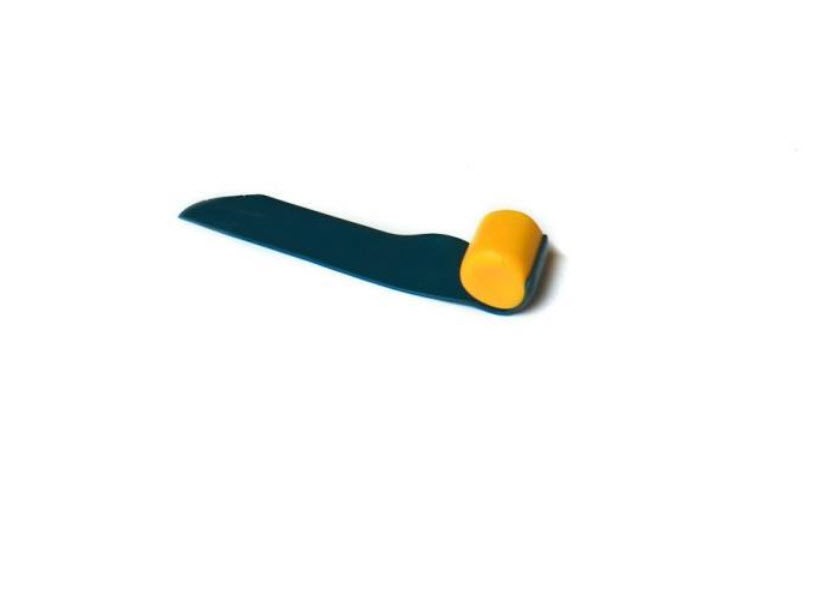
Pulling the long thin sausage, cut into several segments and lay beside him.
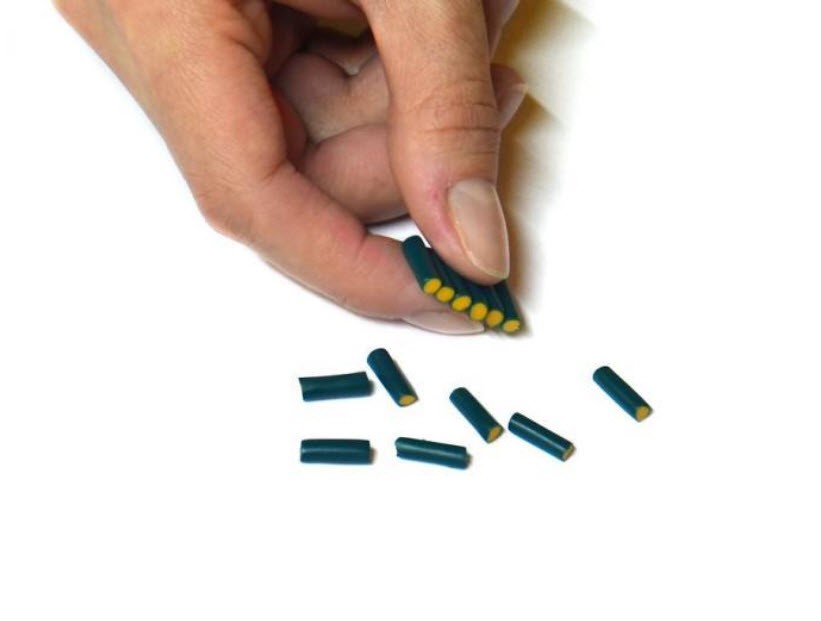
Recent sausages need to flatten a bit and put together between two layers of dark green clay.
16. In the same way we do of yellow and pink clay.
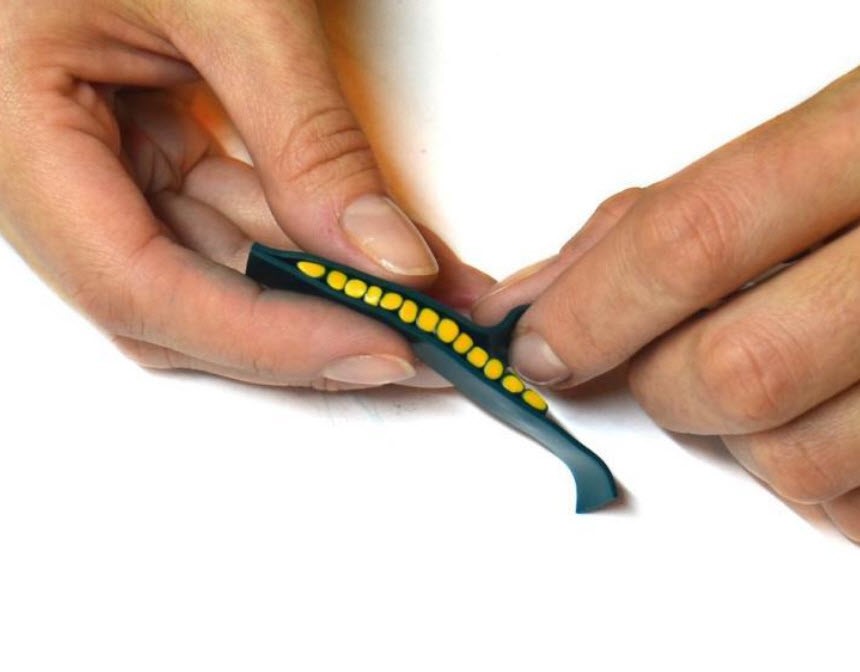
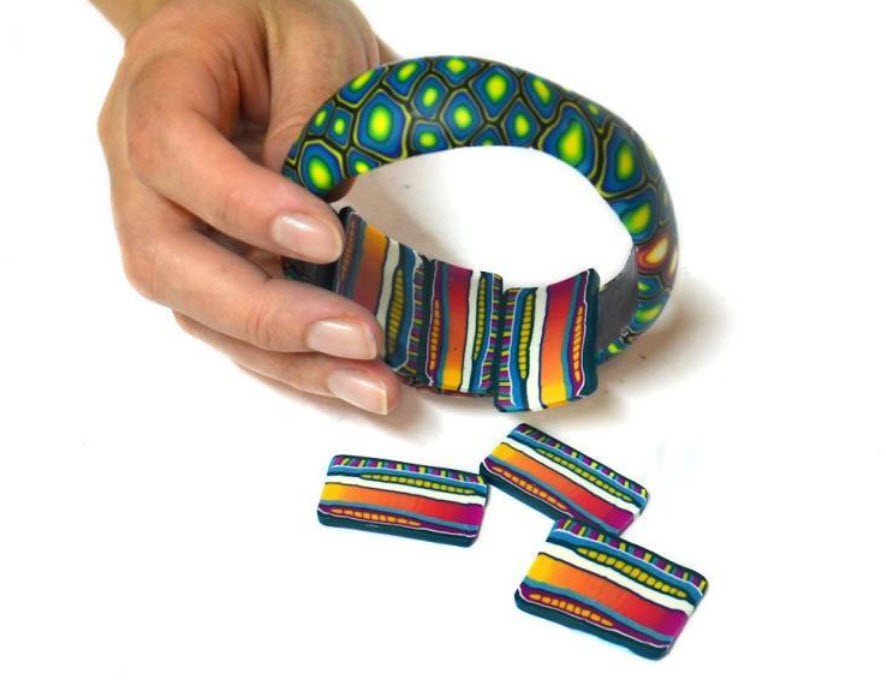
17. Roll out a few colors on the pasta machine. You can make a bar with a smooth transition of color (here from yellow to pink).
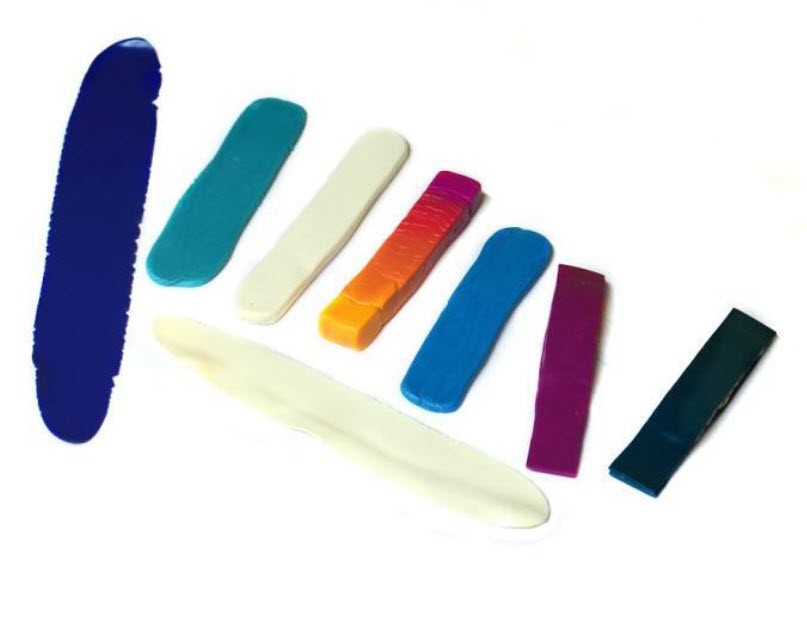
And adds them to each other, alternating thin contrasting colors. Short strips forming of small multicolored bars
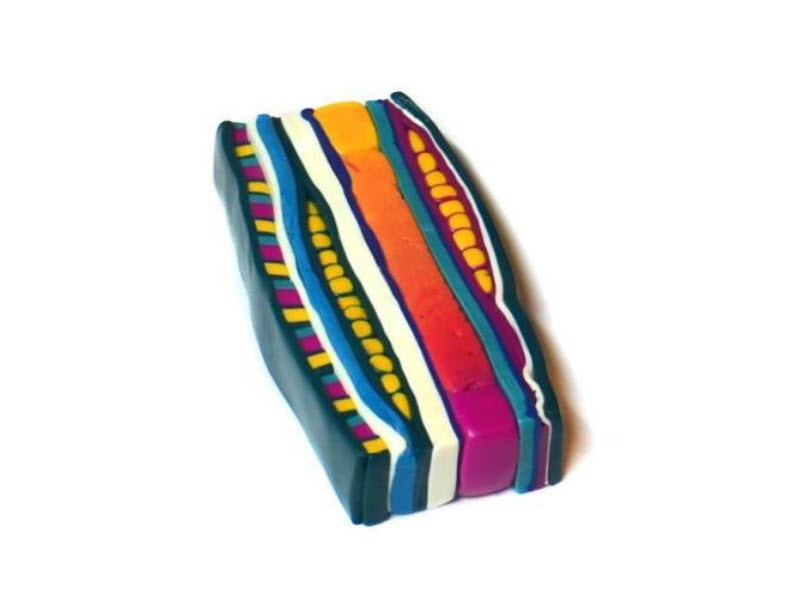
Slightly squeezed by the roller.
18. Smear gel inside.
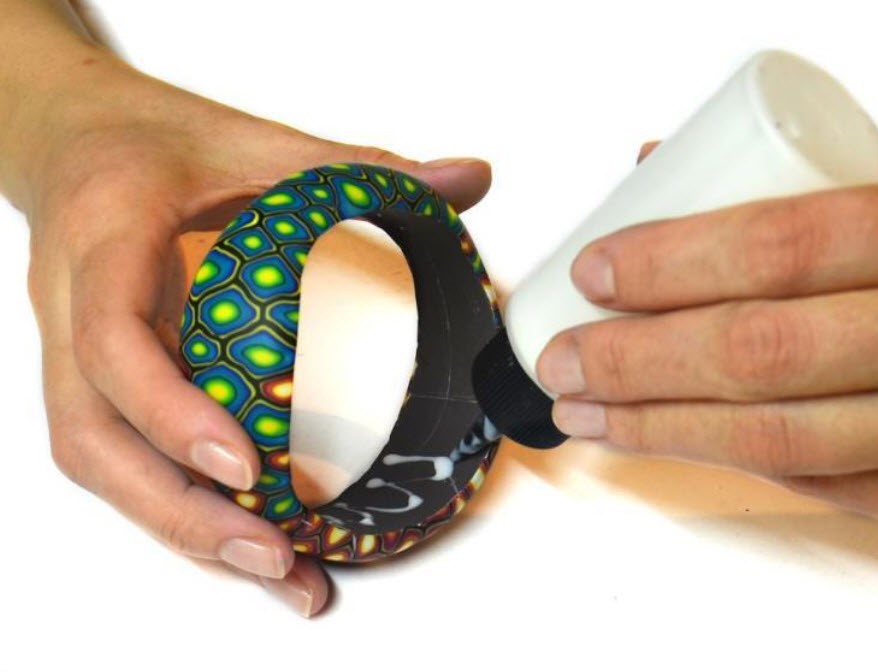
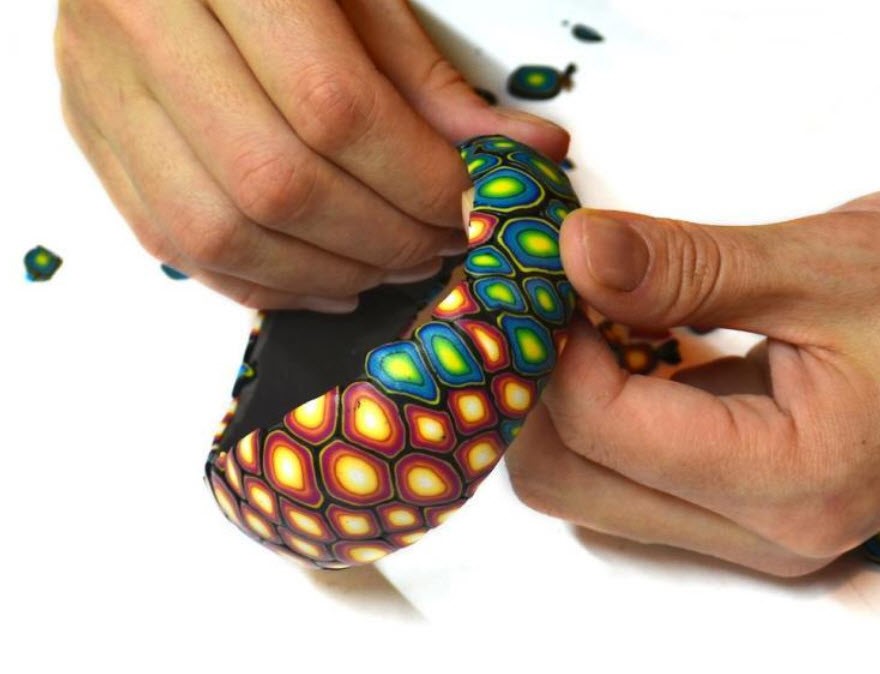
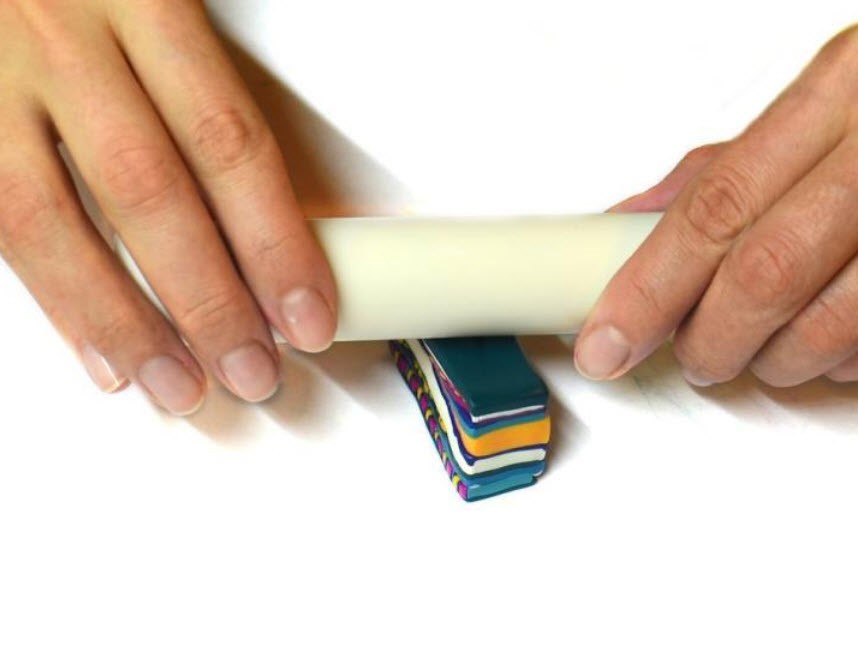
19. The bar cut into thin layers and spread the whole inner side. Layers can be shifted relative to each other. You can cut them into 2-3 pieces lengthwise and spread among wide sections.
20. The roller packer all layers.
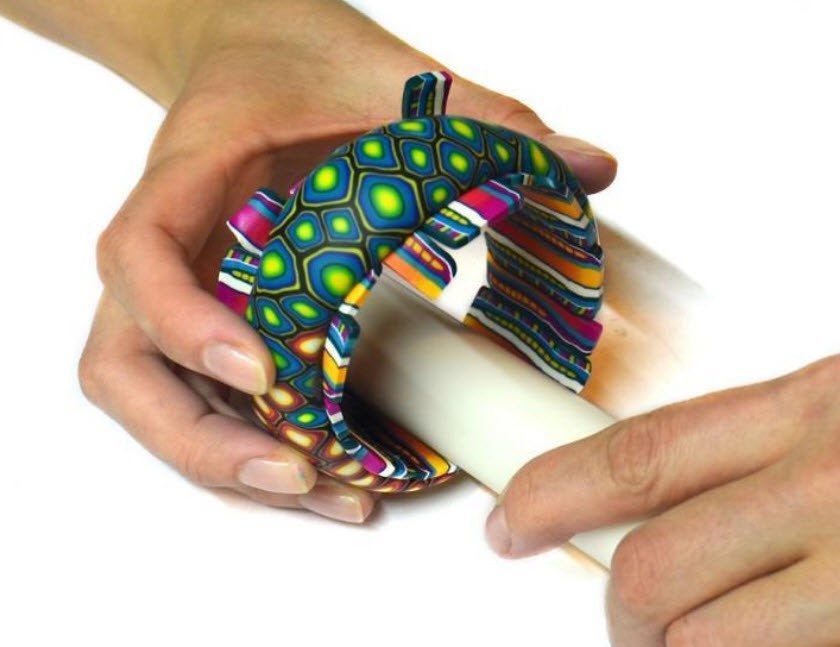
21. Cut off all the ‘tails’ with a sharp knife.
22. Bake for about 20 minutes.
23. Grind the entire surface of the bracelet and outside, and inside, flattening large irregularities. Grit 400-600.

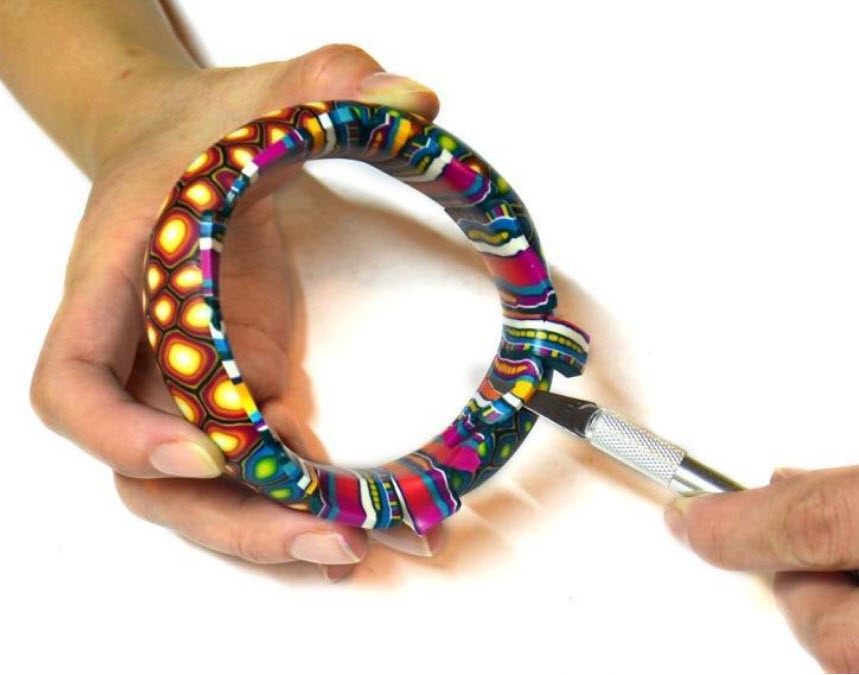
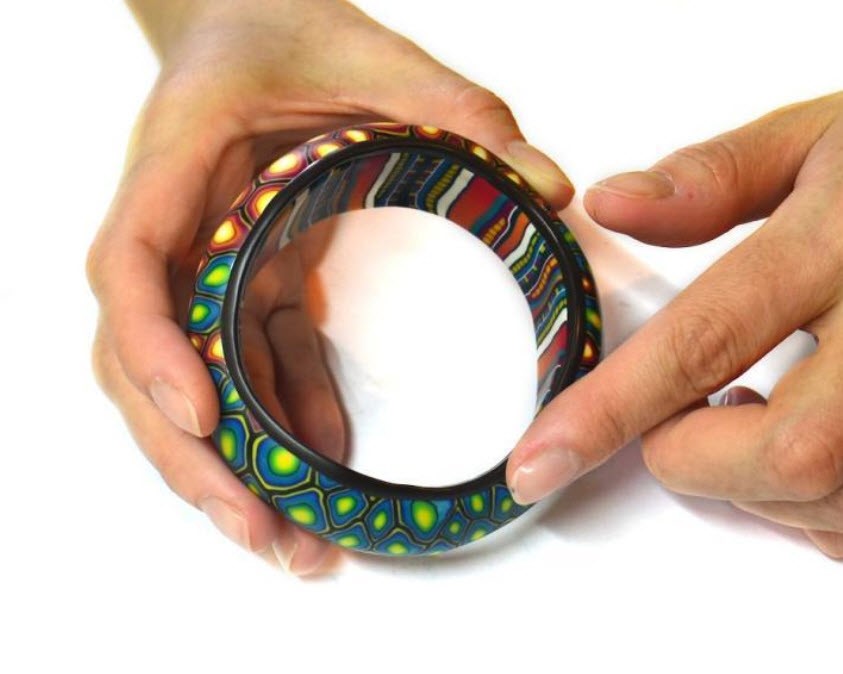
24. Extrude thin ‘thread’ is dark brown.
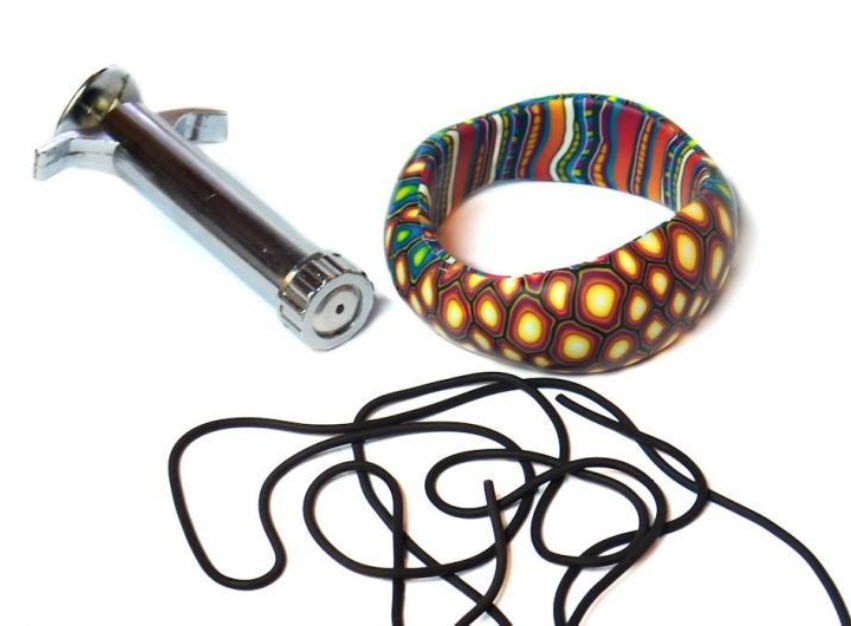
25. We smear the gel on the edge of the bracelet and spread the ‘thread’ on the circuit.
26. Use your fingers to flatten the strip. Bake for 10 minutes.
27. In the same way we do with the second part. The final firing at least 30 minutes.
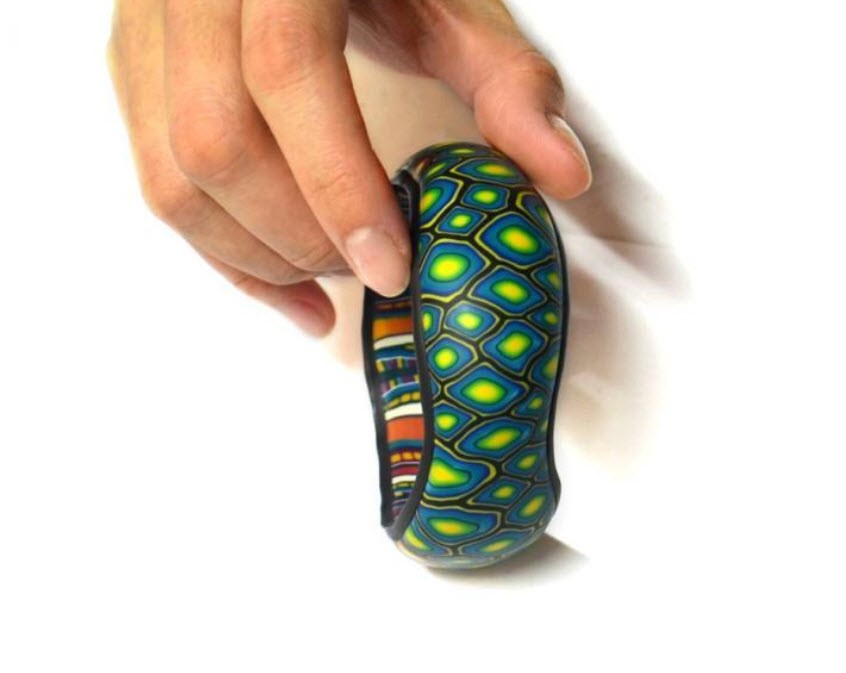
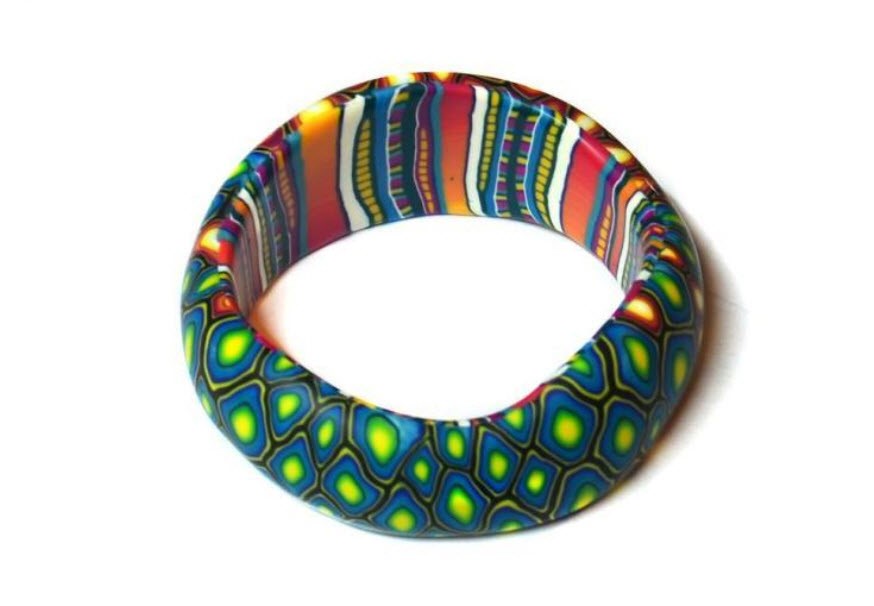
28. The polishing sandpaper (grit from 600 to 2000) entire bracelet. Polishing cloth. The bracelet is ready!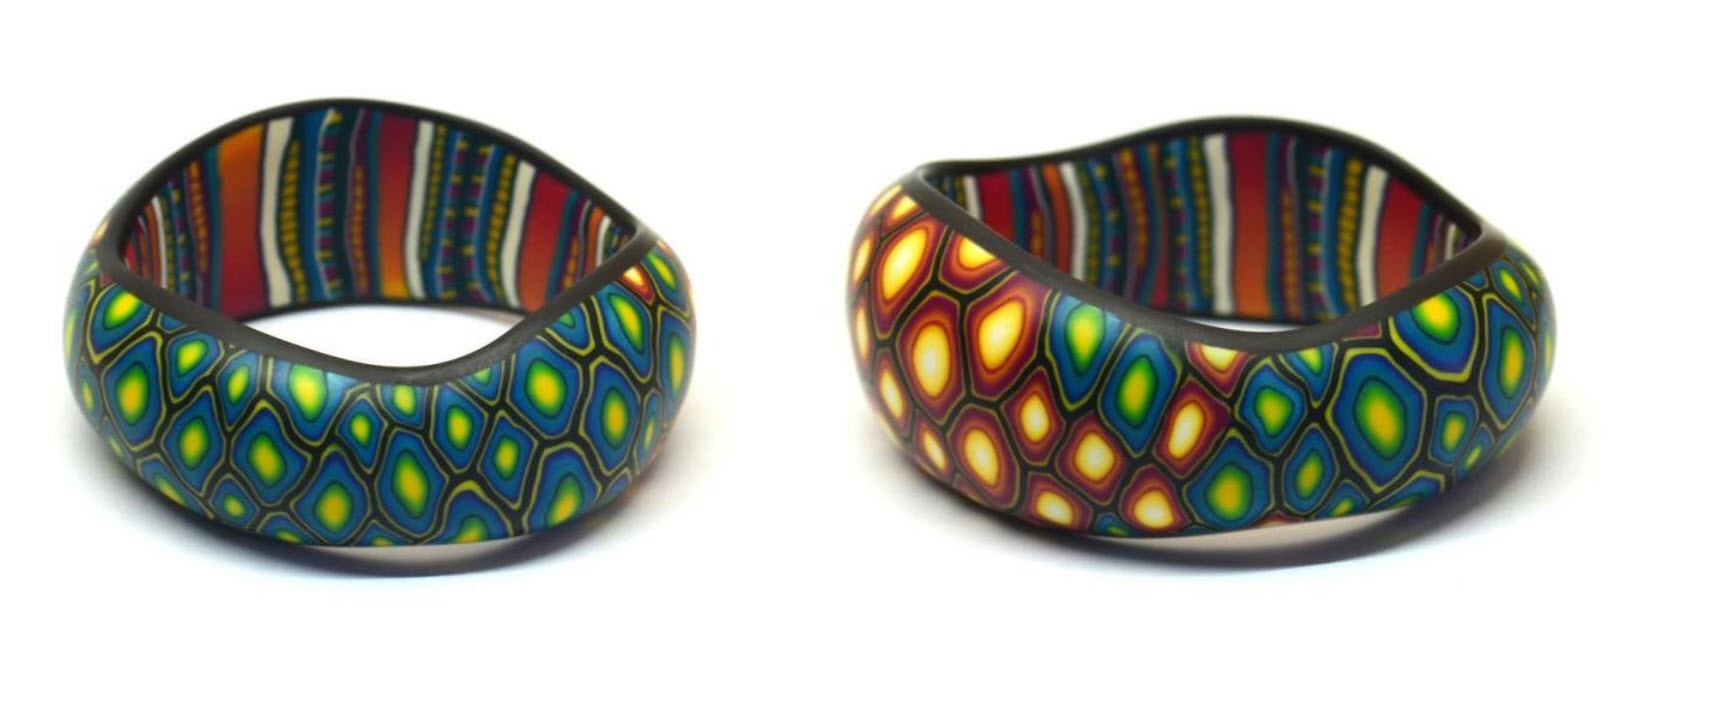
In the same way from the remains can make a pendant to a bracelet.