How to DIY simple Laptop Bag
Think, laptop or tablet can be worn only in expensive bags made of leather or thick fabric? You are wrong! Good idea to sew a bag yourself without having any special knowledge in sewing. Do it yourself!
We need:
- A large piece of fabric;
- Soft lining material;
- Carbines and rings (2 pieces);
- Pins;
- Threads;
- Sewing machine;
- Scissors.
Getting Started:
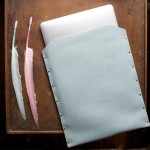
1) Before you begin, measure the dimensions of your laptop and make workpieces of tissue. You can use different pieces of fabric, but they should be stitched together. It is outside of the bag with the fact that you bend it in half.

2) Exactly the same size blanks do for the lining, and for decoration of inner side. All you’ll have 3 layers.

3) Put all three layers together and sew on the sewing machine with two ends in view of the fact that you remove the bag inside out.

4) Sew the corners from the inside, to make a triangle so that when you remove the bag on the front side, the corners are not sharp.
5) From the same fabric make a long handle so you can carry the bag over shoulder.

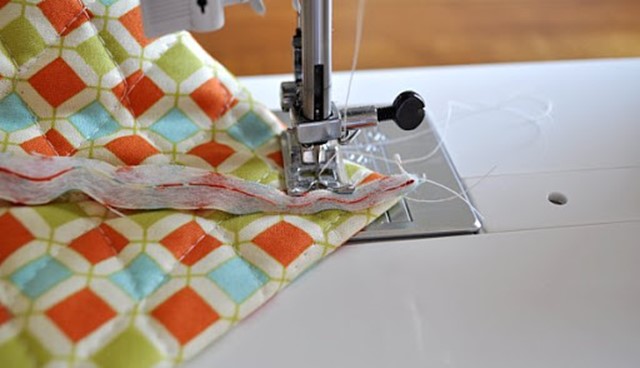
6) Pin the top of the bag, hidden inside edge.

7) Until the top edge has not sewn on the machine, insert tabs with metal rings to cling carbines. There should be one on each side.

8) Now sew the edge on the sewing machine.

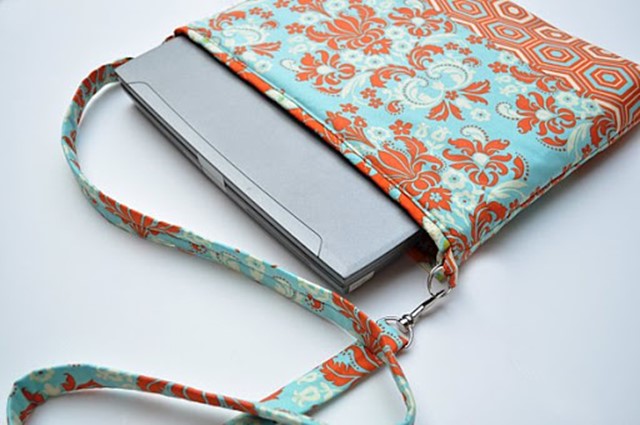
9) Attach the hooks to both sides of the handle, sew the edge of a typewriter.

10) The original and very simple handmade laptop bag ready!
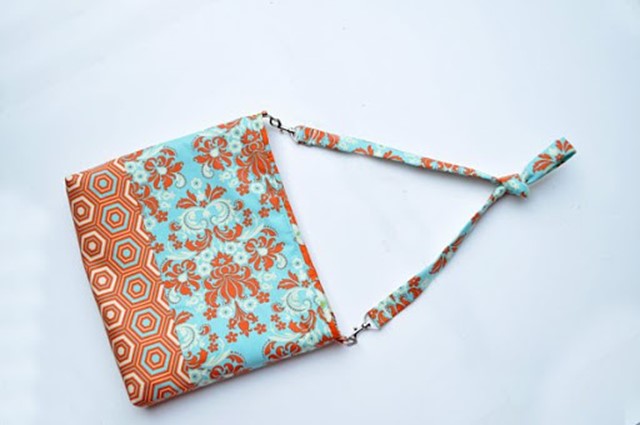
Now you can wear this bag with head held high, because you have made it with your own hands. Good for You!