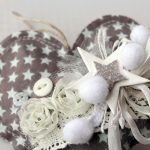
A warm gift for Valentine’s Day: sew cozy warmer «Patchwork heart»
Simple white ceramic mug is in almost every home. Today we will make it special with a cute outfit! New clothes will be a beautiful thing and will retain the temperature of hot drink in cold winter evenings. A great gift for Valentine’s day!


We will need
fabric of two different contrasting colors (I used a Christmas theme);- optional: cut another fabric for the separating strips, edging and loops;
- insulation (padding polyester, cotton, bamboo, polyester batting with a foil layer);
- fabric for the inside;
- beautiful button.
And also:
- Mat, roller, knife, ruler, sewing machine
To begin, remove the measurements from your mug. The size of the future warmer for my mug is 3″ x 9″. I make a strip of three contrasting blocks, each of which will be equal to 3 inches.
Cutting:
light fabric:
3 strips 1″ x 6.5″.
2 rectangle 1.5″ x 2″.
2 squares of 1.5″.
8 squares 1″.
red cloth:
3 strips 1″ x 6.5″.
2 rectangle 1.5″ x 2″.
1 square 1,5″.
4 squares 1″.
For separation of bands:
details 1″ x 3.5″.
Let’s start to make awesome Valentine’s Day gift with their hands!
1. Take the strips measuring 1″ x 6.5″. Sew them together along the long sides. The sequence of bands in the first part: bright red-light, second — red-light-red.
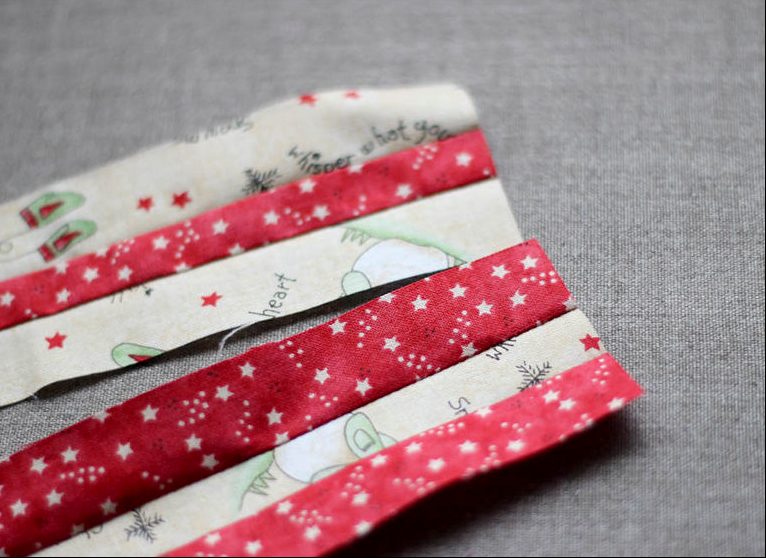
2. Cut the resulting two-tone stripes on the details with a width of 1″.
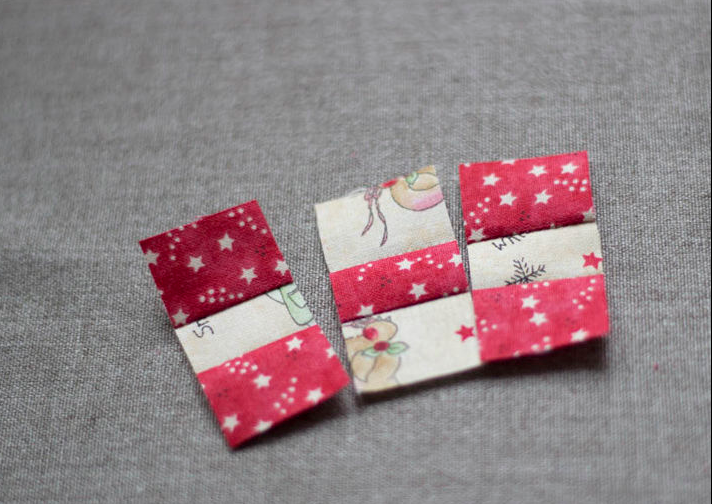
3. Sew the parts together to make three parts, consisting of 9 small squares (9-Patch).
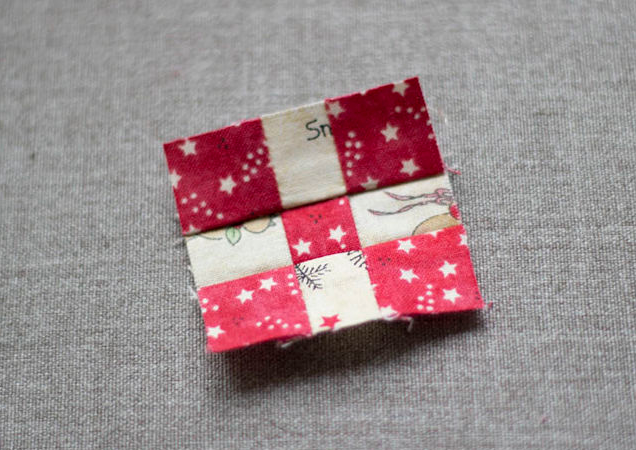
4. On the squares measuring 1″ with a pencil, draw a diagonal line.
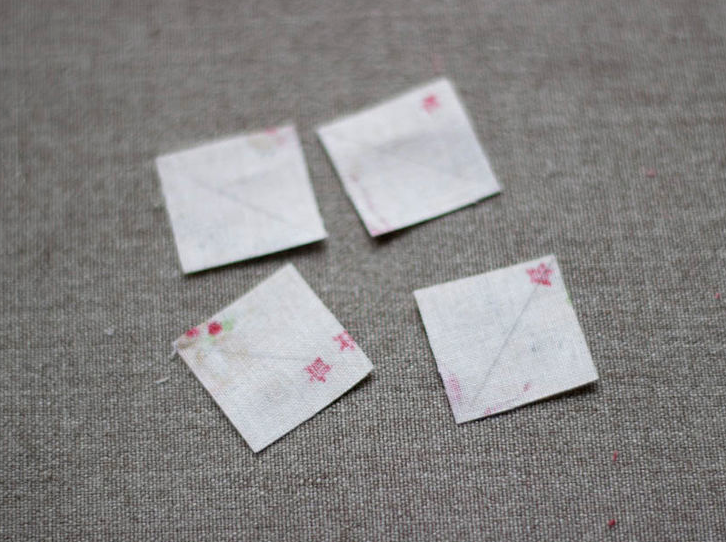
5. Attach light box to the corner of the red rectangle 1.5″ x 2″, lay the line exactly on the drawn line. Cut the junk, fold the square and sew to the other corner of the rectangle is the same. Repeat with all the rectangles and squares. You got the top of the heart.
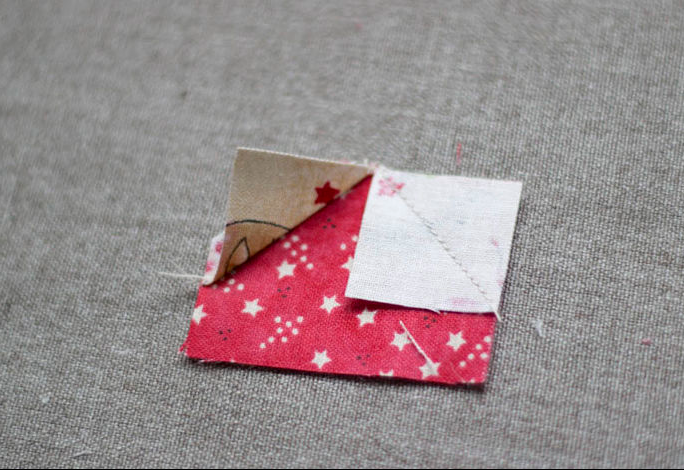
6. Take 3 square size of 1.5″ (this will be the background) and sew them with the top parts of the heart on the short side, alternating colors: red heart light background to light red.

7. To squares 9-Patch on the right, sew the top part of the heart. Observe the sequence of colors: 9-Patch, where there are more red squares — the red part and Vice versa. If you are not sure, check the picture below.
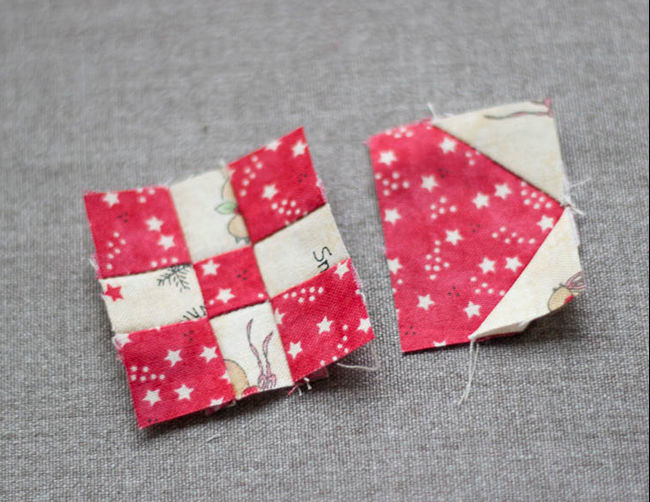
8. To the resulting parts sew the remaining top of the hearts to the background squares. Hearts are ready!

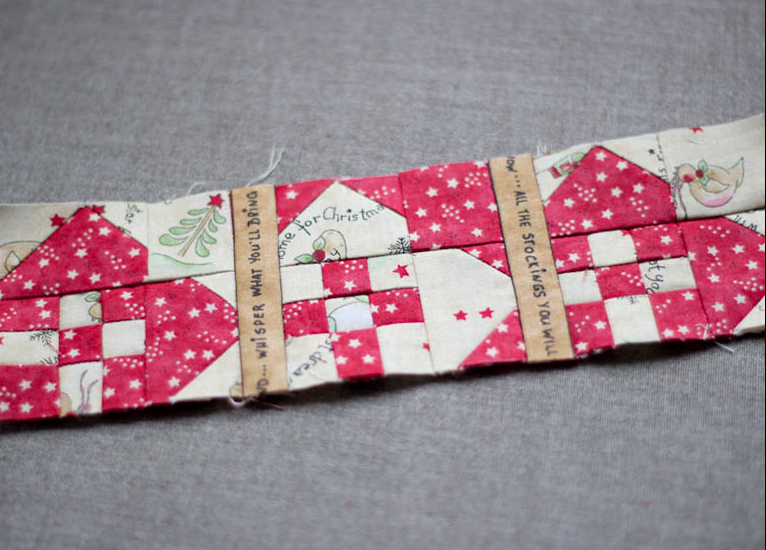
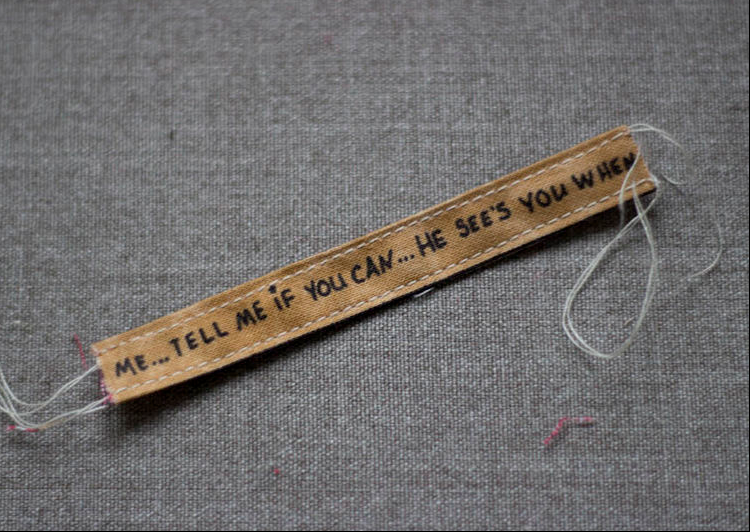
9. Sew them together, alternating colors. Between the hearts I sewed the item with new year wishes. For this panel I carve out a strip width of 1″. You can make it from any suitable color of fabric, the same fabric to use for the edging warmer and loops.
10. Take from the reverse of fabric and filler items, the more the resulting patchwork top 1 cm from all sides. Place the fabric for the inside face down, on top of the insulation, hereinafter — the quilt top face up. You may use pins cleave the billet.
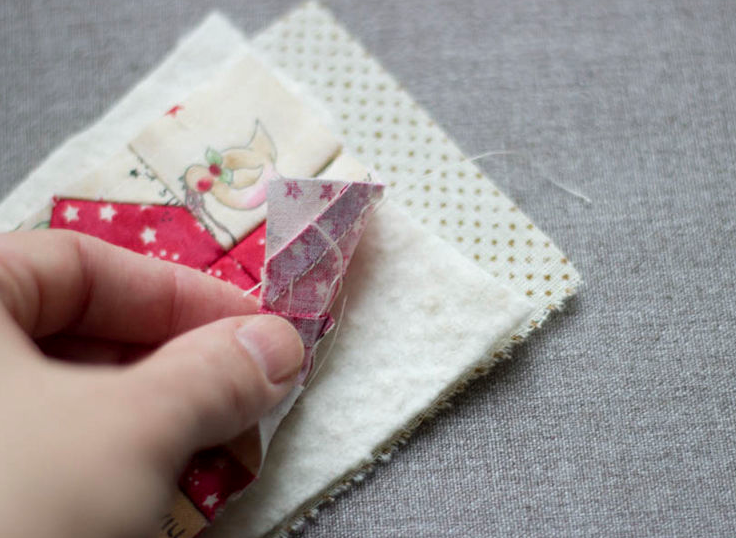
11. Quilted our sandwich on the machine. I drew the first line at 45 degrees with vanishing marker. The others were doing, guided by the guide foot.
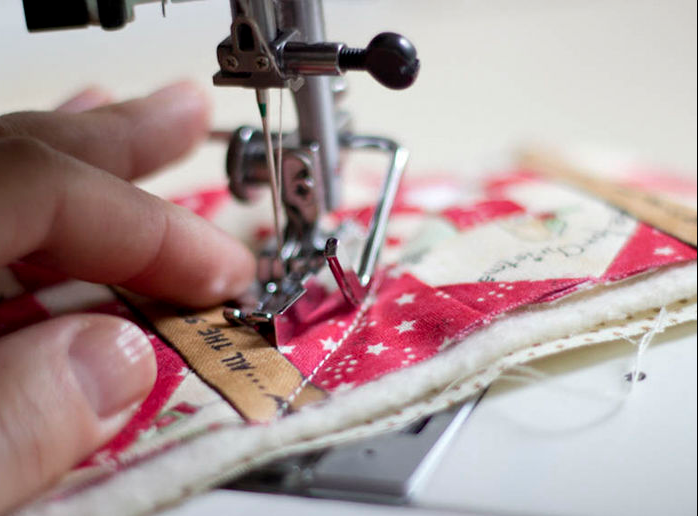
12. Trim with a knife and a ruler, the resulting quilted piece.
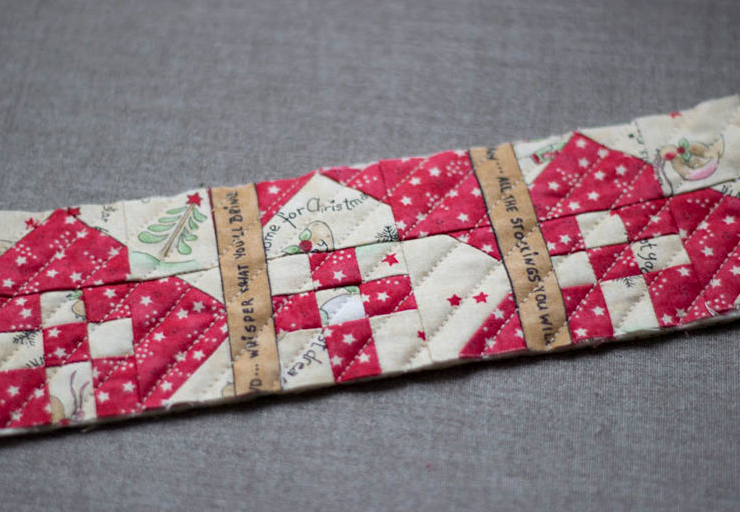
13. Make stripe from red cloth for the edging width 1¼».
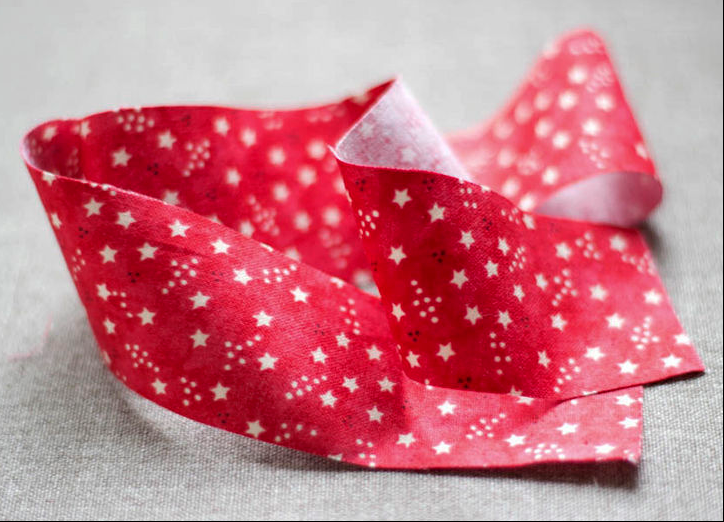
14. Prepare the loop. From the contrasting fabric will have plenty of strip length 4″ and width 1″to 1.5″ (whichever you prefer). Tuck the edges on the long side and sew them close to the edge. Fold the strip in half, place the bend to form corner and astrocyte it. Put a loop in the middle of the pad on the short side, and secure with pins. Start to turn over a bottle of the middle of one of the long sides, stepping back from the beginning approximately 3″.
15. Fold the area in half and fold down the top strip at 45 degrees. Check the photo below.
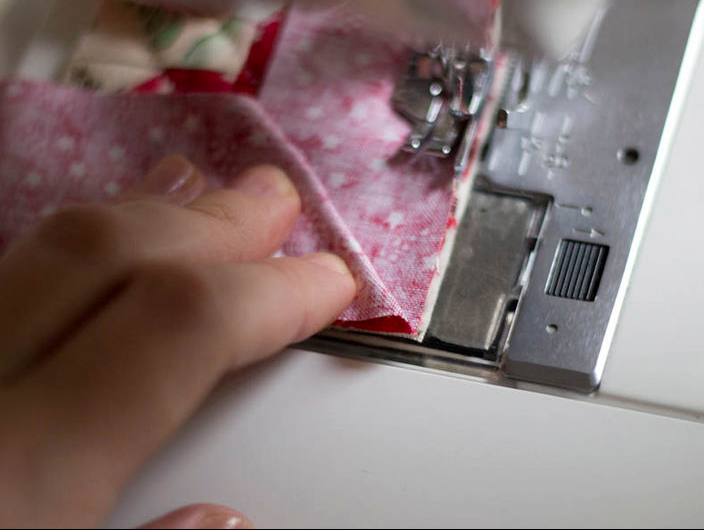
16. Short ¼ » to the end, stop, rotate the part and bring the line to 45 degrees. In the photo below this line indicated with an arrow.
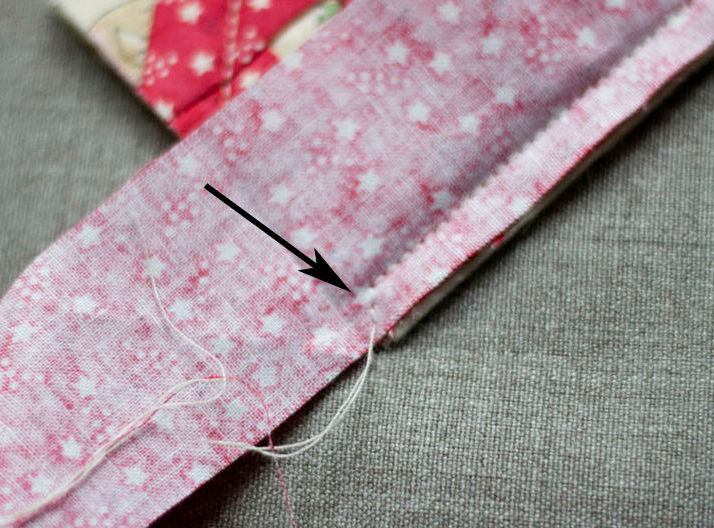
17. Cut the thread and remove the part from the foot. Use a stick or pencil to lay bake at 90 degrees. (The same operation can be done and not cutting off the thread).
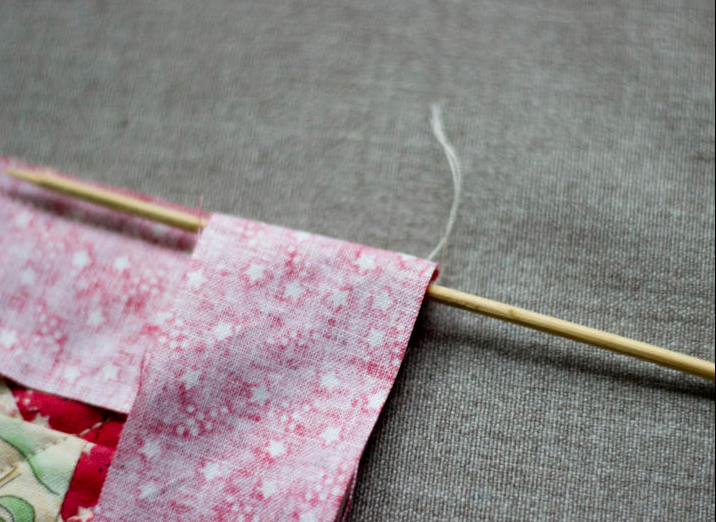
18. Put again the item under the presser foot and start stitching, stepping back ¼ » from the edge. Paragraphs 16-18 shall be repeated on all four corners hand warmers.
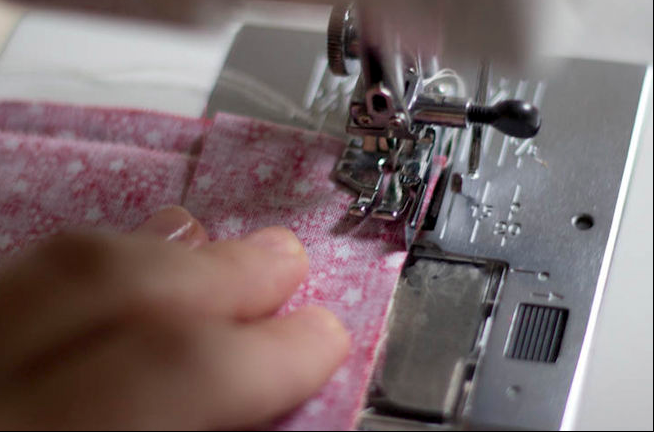
19. Short about 3″ to connect the two ends, stop. Put them together, wrap one end at 45 degrees, finger or fingernail to make a crease at the connection.
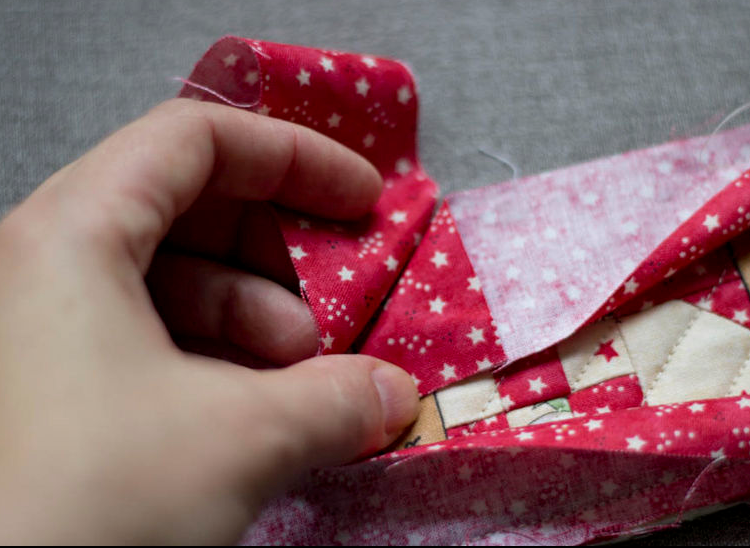
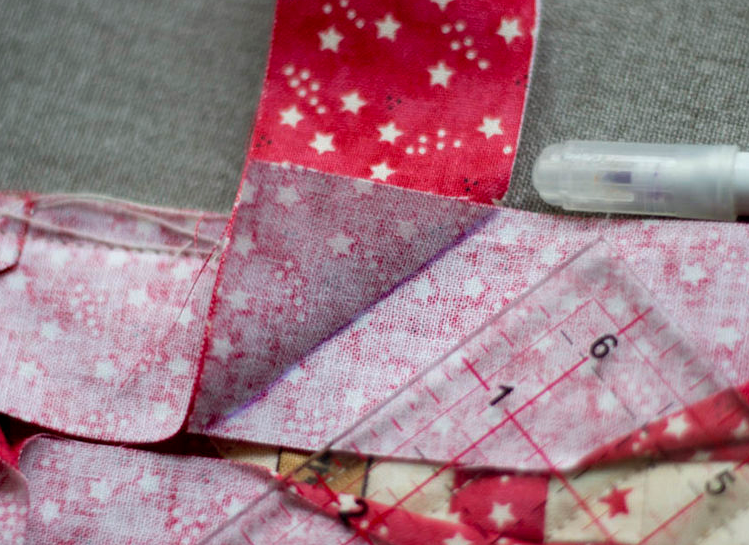
20. Draw with a marker stripe on the crease. Gently fold all the warmer under foot was the only ends of the edge. Lay the line exactly on the drawn line. The remainder of the cut. Expand bake and finish to sew it
21. Manually hem from the wrong side. Sew a pretty button (mine is iron, irregular shape). Our sweetheart crafts for Valentine’s day is ready!


